User management
Flexmail lets you work with multiple users on the same account. This is useful when you have colleagues who help with campaigns, design, or contact management, but you still want to control exactly what each person can see and do. With user profiles and access rights, you decide who has access to which parts of the platform.
The number of users you can add depends on your subscription. Check your subscription details to see what applies to your account.
Adding a new user
-
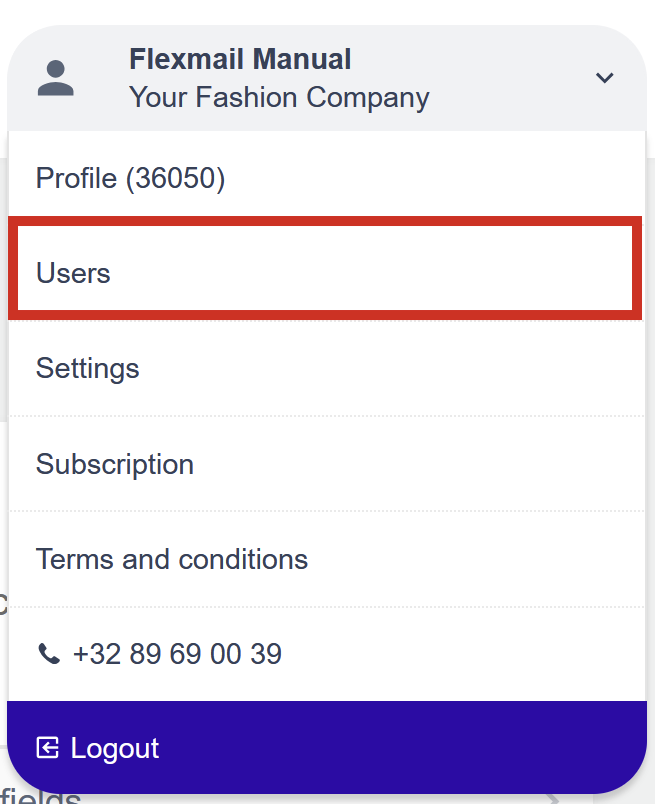
Go to your account name in the top right and open Account settings. Open the Users section.
-
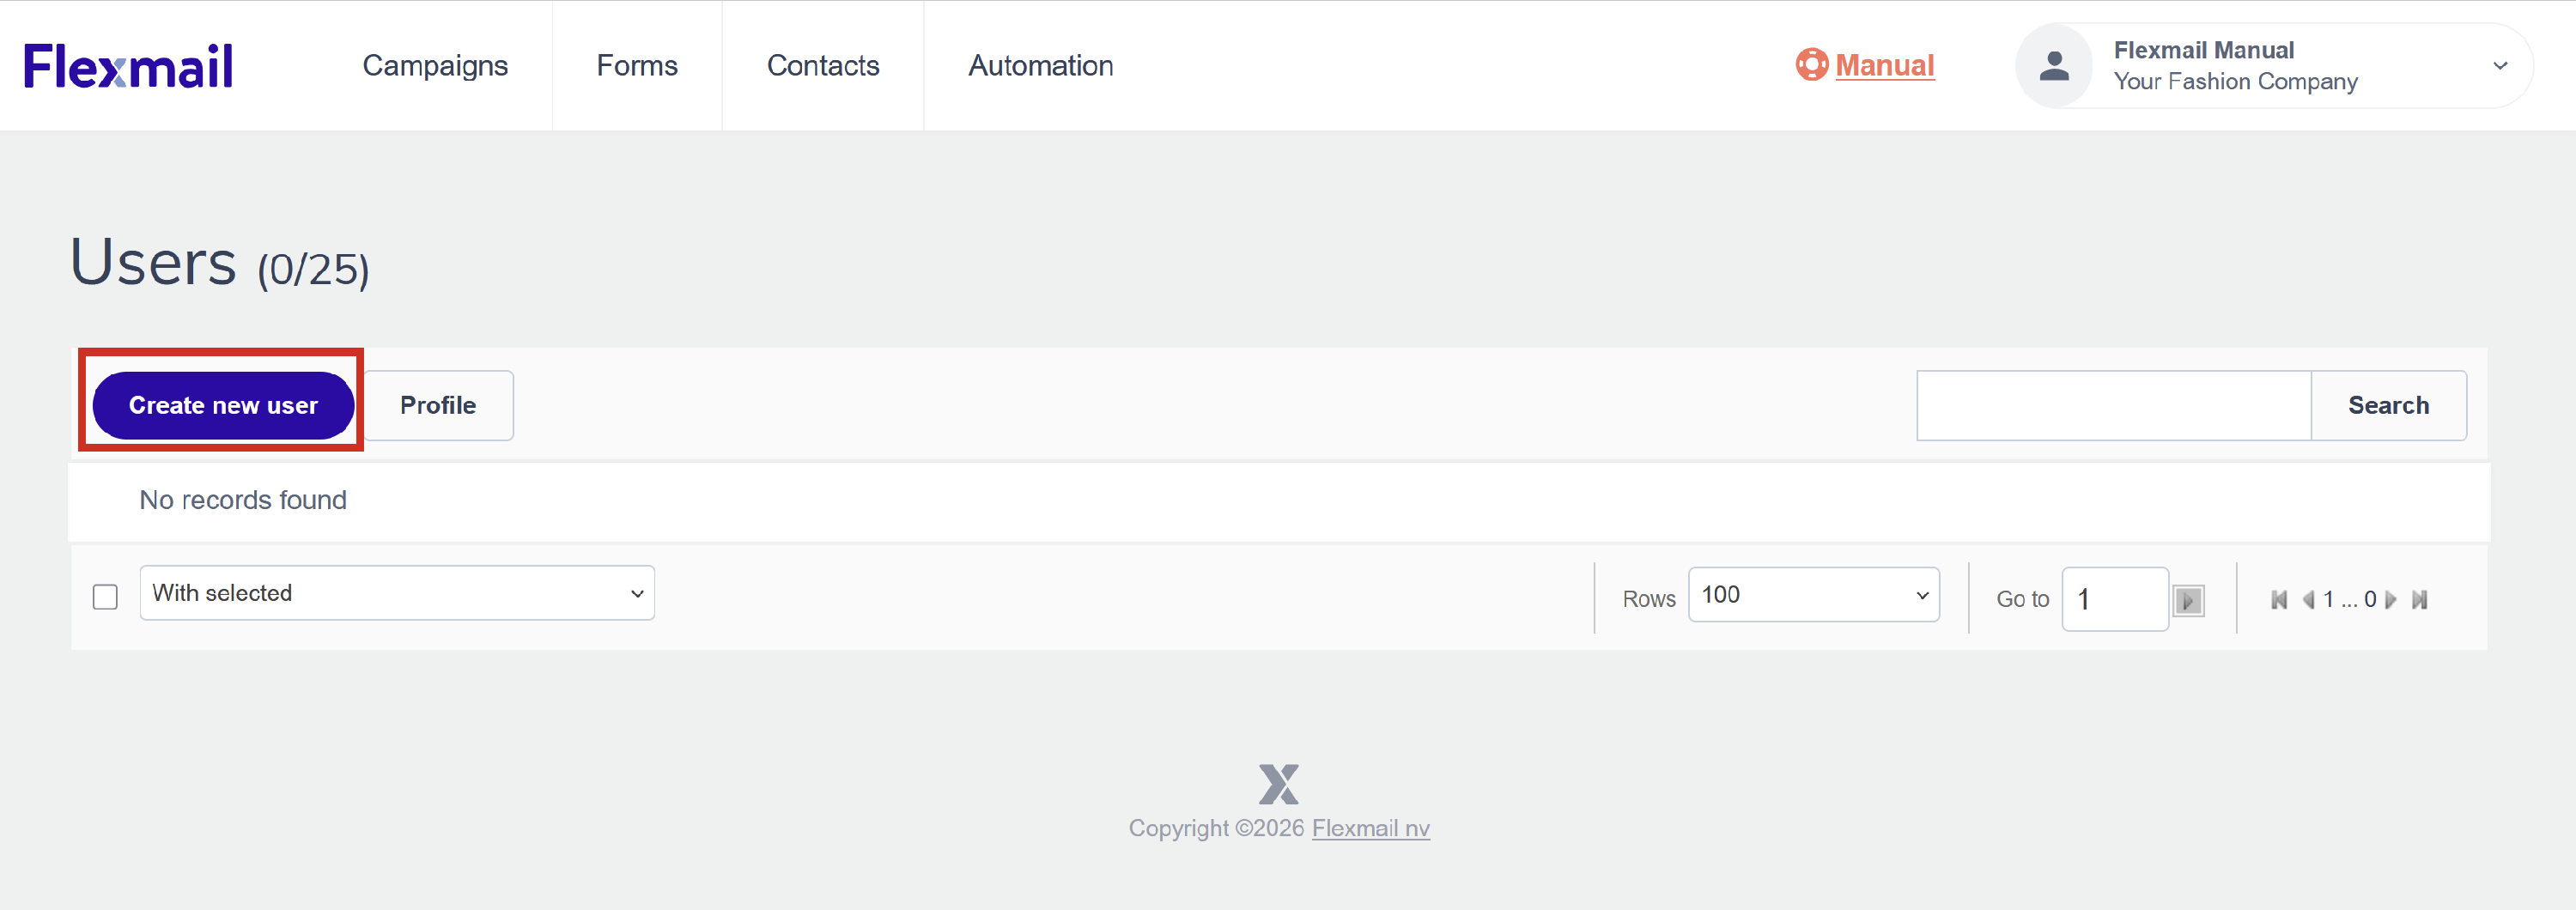
Click Create new user.
- Fill in the following details for the new user:
- Profile: the access rights profile you want to assign (more on this below).
- First name.
- Last name.
- Language.
- Email address.
- Click Save.


The new user will receive an email at the address you entered. That email contains a link to set their own password. After that, they can log in to your Flexmail account directly.
Support tip if the new user already has a Flexmail account with another organisation, they will see an intermediate screen after logging in. That screen asks them to choose which account they want to open. This is completely normal and works the same way for any user linked to more than one Flexmail account.
Managing profiles and access rights
Profiles let you control what a user can and cannot do in Flexmail. Instead of giving everyone full access, you can create a profile that only grants access to specific parts of the platform.
-
In the Users section, click Profile to go to the profile overview.

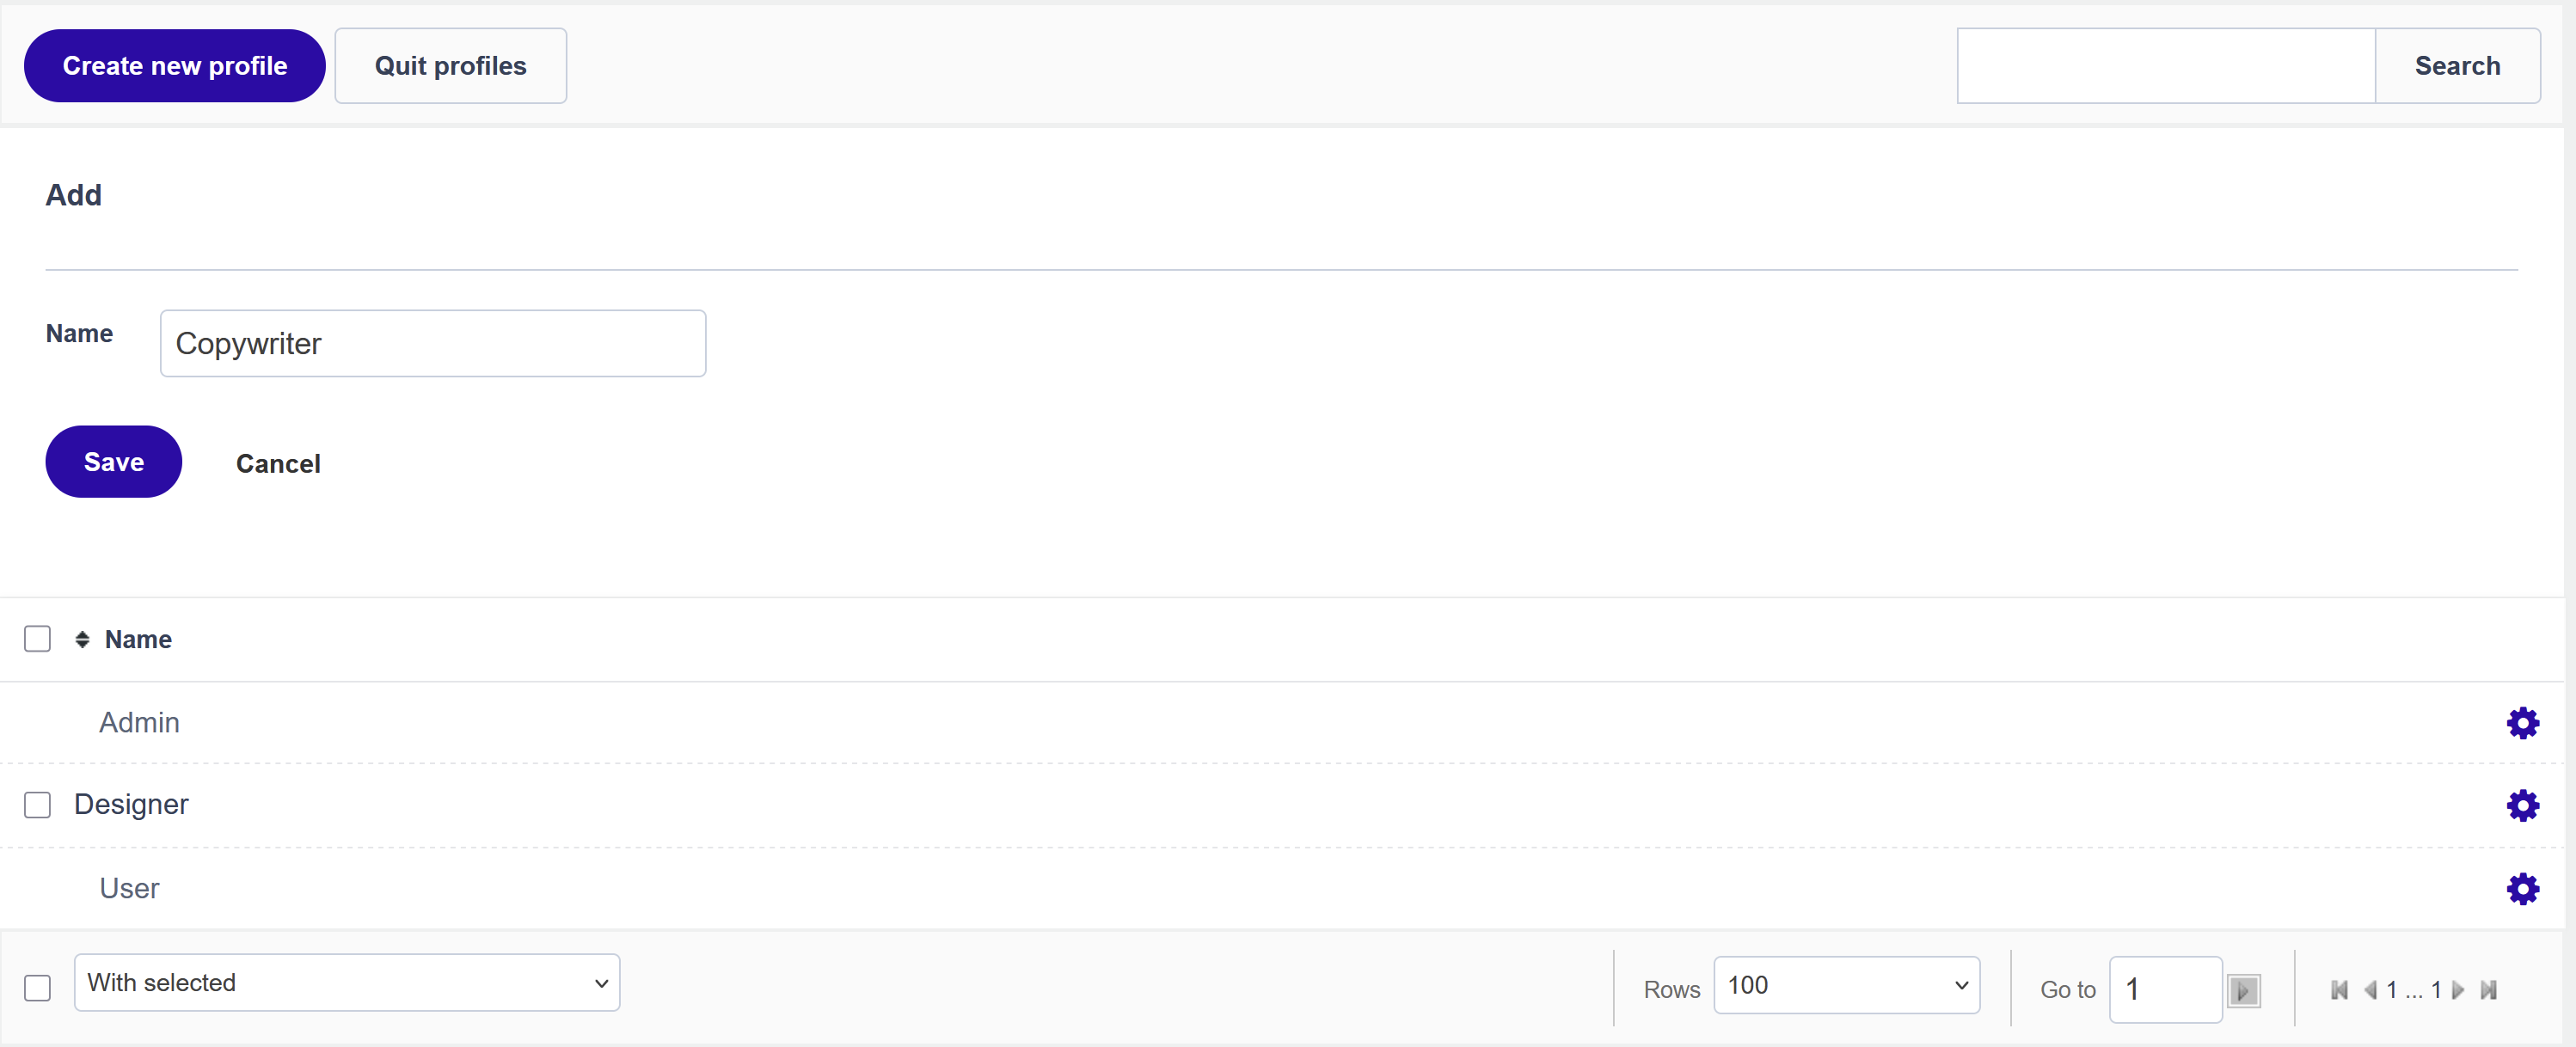
- Click Create new profile to add a new profile.
-
Give your profile a descriptive name that reflects the role, for example "Designer" or "Copywriter".
-
After saving the profile name, you can go to the Manage rights screen. This is where you determine which sections of Flexmail this profile has access to.

- Tick the box next to each section you want this profile to have access to. You can expand parent items to grant access only to specific subsections.
- Click Save when you are done.


The available resources are:
- Campaigns (including categories and creating new messages).
- Forms (including creating forms, form reports, categories, opt-in, and surveys).
- Contacts.
- Automation.
- Account.
Attention the Admin profile always has full access and cannot be restricted. You cannot remove or modify the rights of the Admin profile.
Assigning a profile to a user
When you create a new user, you can already select a profile in the Profile field. If you want to change the profile of an existing user, go to the user list and click the settings icon next to the user.

Click save to update that user's profile.
Removing a user
If a colleague no longer needs access to your Flexmail account, click the settings icon next to their name and choose Delete. Access is revoked immediately. Your contacts, campaigns, and other data remain completely intact.
Next steps
- See "Categories" to organise your campaigns so every user can easily find what they are working on.
- See "Create a workflow" to set up automation processes that run independently of the logged-in user.
- See "Overview settings" for an overview of all other account configuration steps.