Configure your brand kit
Configuring the brand kit of your account is recommended to make creating new emails quicker and easier. Once you have chosen the colors that are specific for your branding, they will be proposed whenever you create a new message, survey, or form.
In addition to your own colour palette, you can also add branding to your opt-in pages.
-
To set up your account branding, go to Settings > Brand kit in your account.

-
In the panel on the left you will find three tabs with different settings. You will start in the brand identity tab where can define your brand's visual identity by uploading your logo, choosing a background image and setting your primary color.
These will be used on all contact-facing profile pages and your opt-in email. You can use the arrows in the carousel on the right to scroll through the different previews.
Support tip
To ensure your images are displayed correctly, it is important that they are saved with the proper dimensions and that they are optimized for the Internet. More information on how to optimise your images for the web and email is provided here.

-
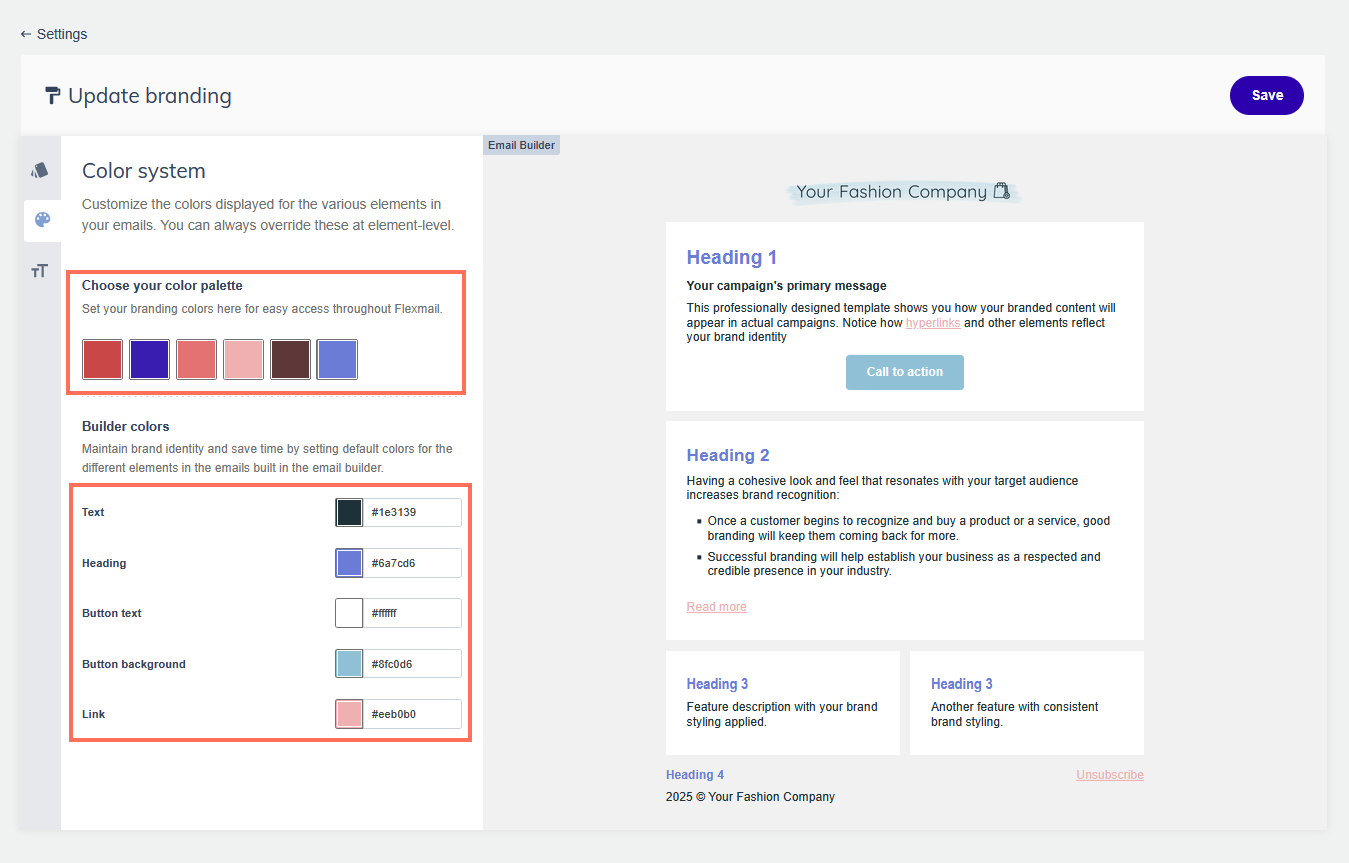
On the next tab you can find the color system. Here you can select your own colour palette which is displayed next to the color picker in the email builder, for instance, and set your default builder colors.
The builder colors will be applied to various elements in new emails and help you maintain your branding throughout your email building proces.
Support tip
You can always override these colors through the email style settings or on an element level.
-
On the last tab you can find your typography settings. Here you can set the font style and size used for your body text and each heading level. You can also toggle if links should be underlined by default.

- Click Save on the top right after you have finished setting your branding and if you are satisfied with the result.


