Resubscribing a blocked contact
A blocked contact is someone on your blacklist with the status "Hard bounce" or "Spam." Unlike contacts who are simply unsubscribed, you cannot manually remove blocked contacts from the blacklist yourself.
There are legitimate cases where a blocked contact wants to receive your emails again. Their email address may have been reactivated, or they may have changed their mind after filing a complaint. The only way to re-add them correctly is if they actively re-subscribe themselves, which provides documented consent.
Before you begin
A resubscription must always be initiated by the contact. Do not start this process on your own initiative. The contact must reach out to you and confirm that they want to receive your emails again.
Attention Do not send the opt-in form to the contact by email, even from a personal email address. Emailing a blacklisted contact, through any address, means contacting someone who has not given you permission to do so. Share the form via phone, in person, or through another non-email channel.
Option 1: Re-subscribe via an existing opt-in form
If you already have a Flexmail opt-in form on your website, ask the contact to subscribe through it. When they complete the double opt-in process, they are re-added to your account as a confirmed contact and removed from the blacklist automatically.
Option 2: Create a specific opt-in form for the re-subscription
If you do not have an opt-in form available, or if you want to handle this in a more controlled way, create a dedicated form and share the link directly with the contact. They fill it in themselves, confirm via email, and are then back in your active database.
Create the opt-in form
- Go to Forms, then Opt-in forms.
- Click Create new form.
- Enter a name and select the language for the form.
- Add the fields you want the contact to fill in, at minimum their email address
- In the form settings, choose the sender details for the confirmation email and optionally assign interests.
- Click Save form.
After you have created the opt-in form, you can find the HTML code via the Embed your form button. You need this code to add the form to a page.
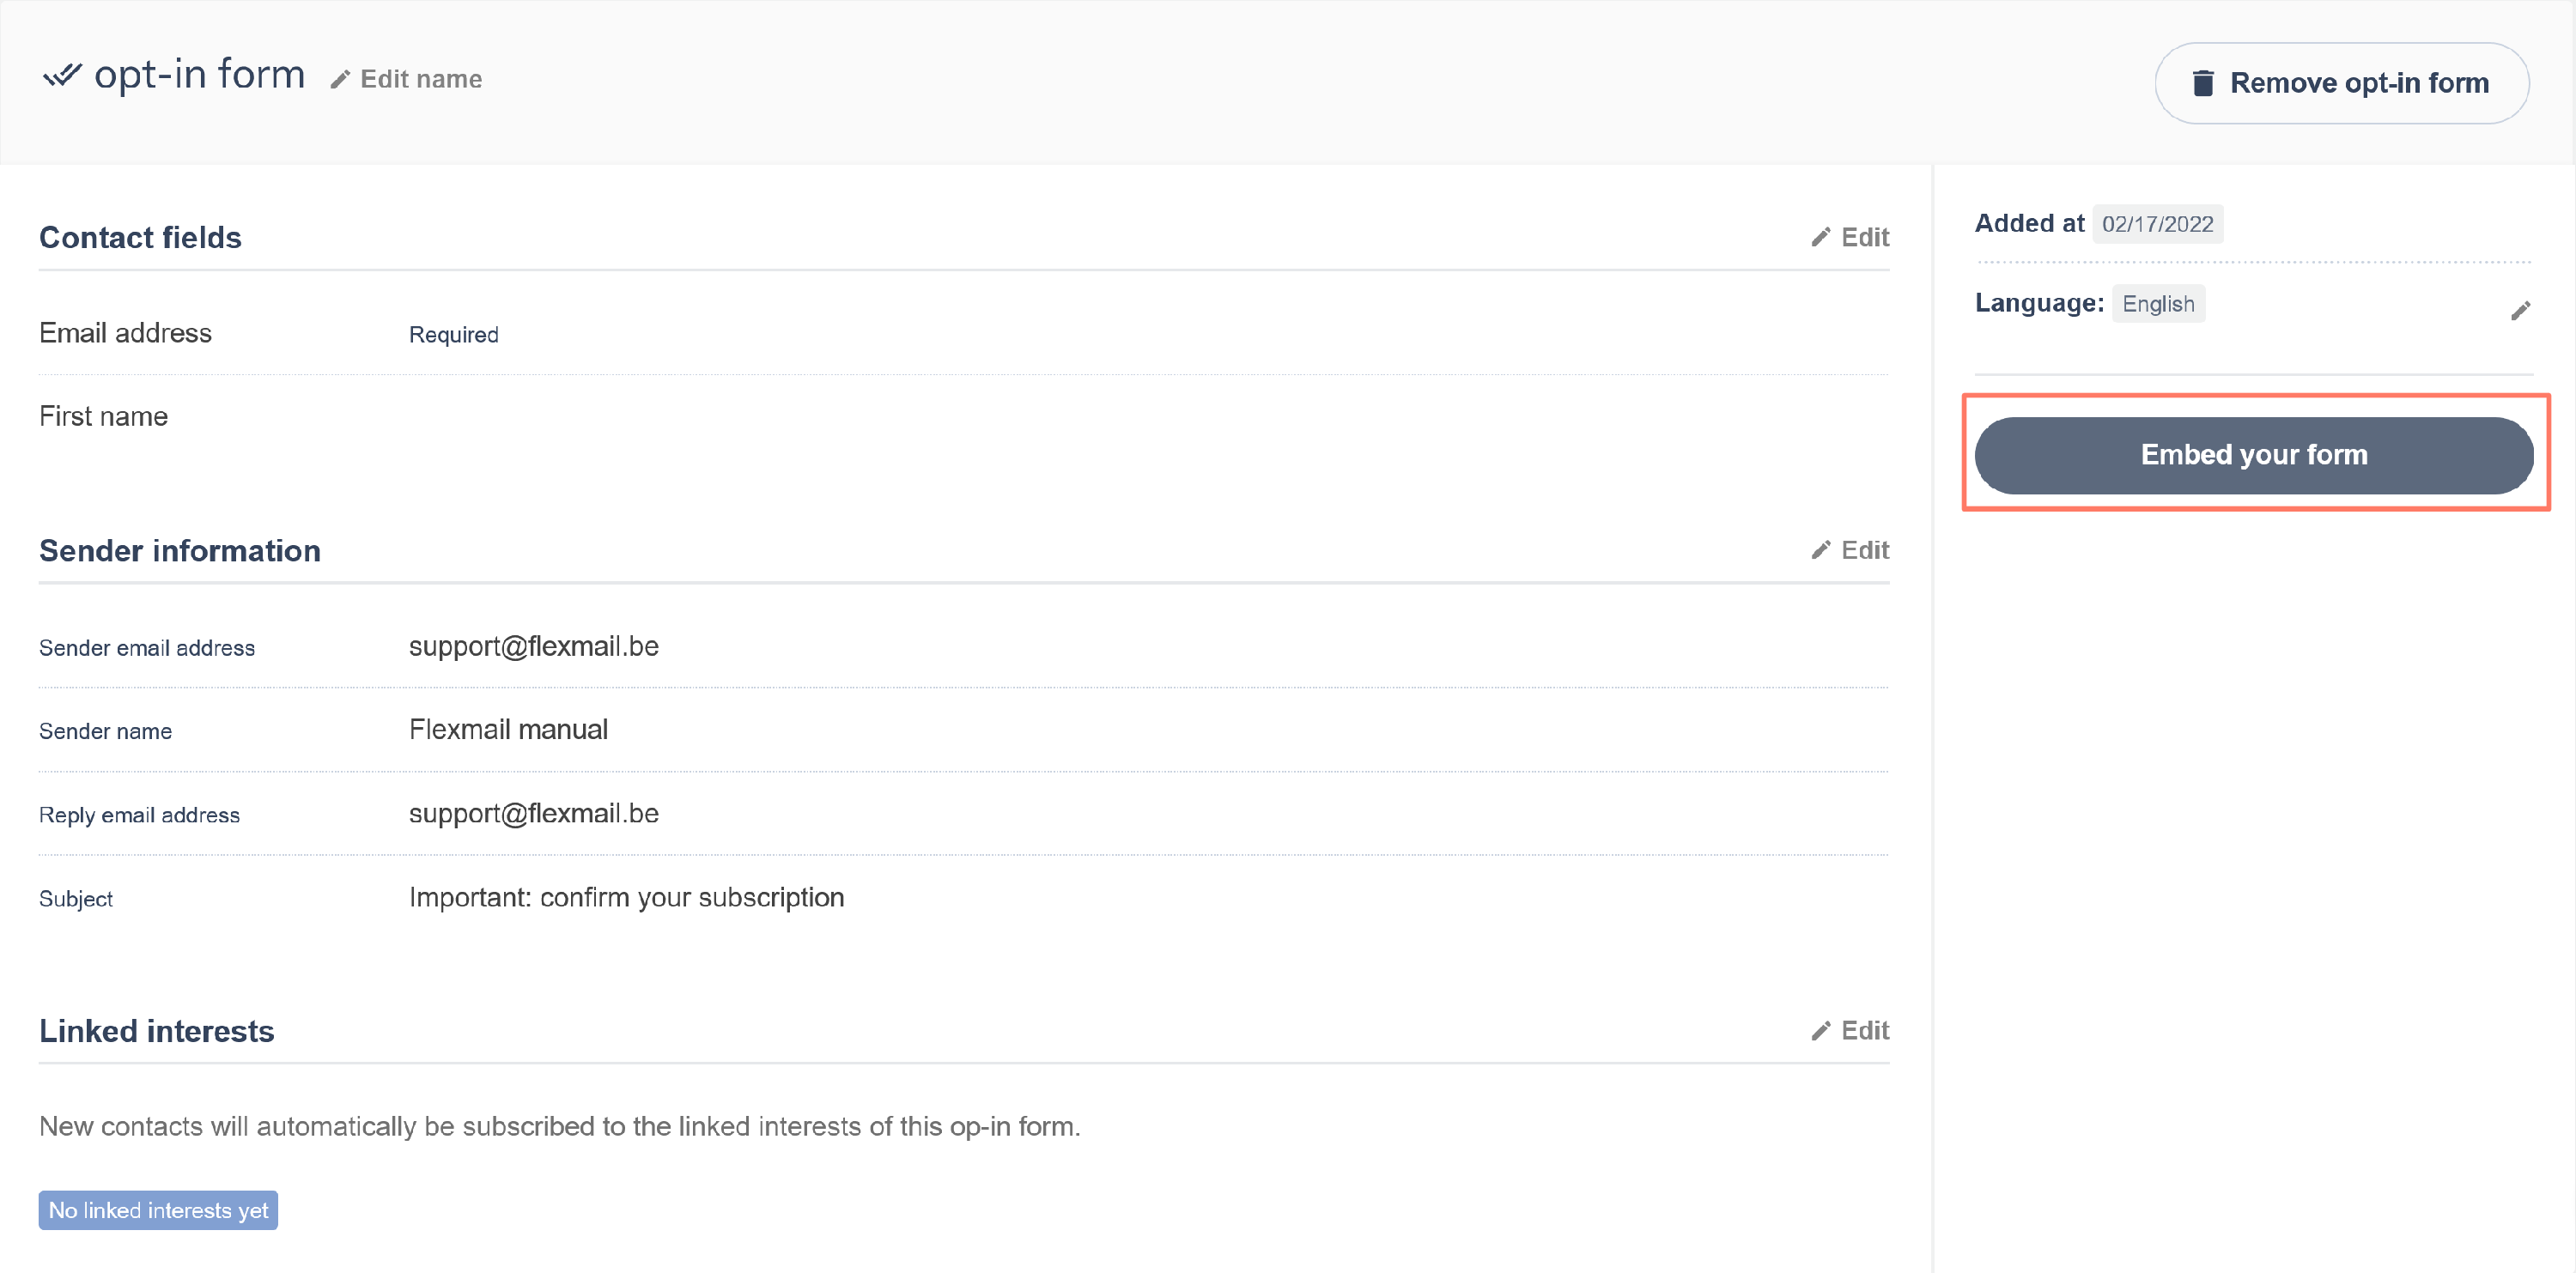
On the pop-up screen, you can see the HTML code you can copy and a description of the best way to place this code on the landing page.

Creating a landing page
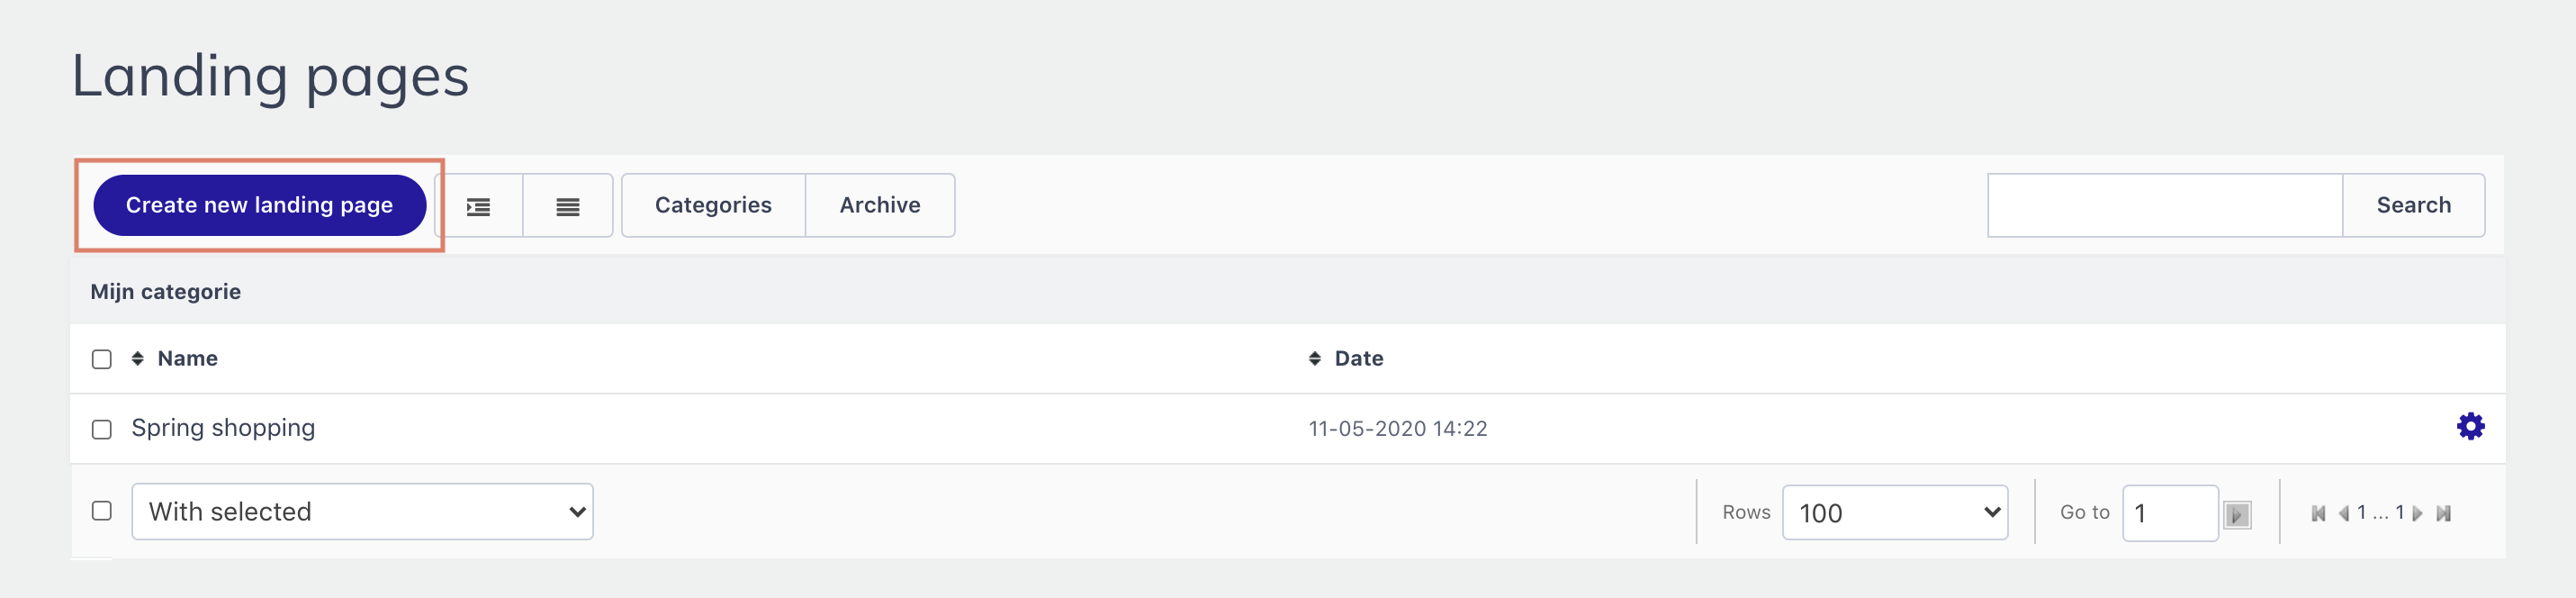
After the opt-in form has been made, you can create a landing page on which you can add the form. You can create a landing page via Automation > Landing pages.
-
Click Create new landing page.
-
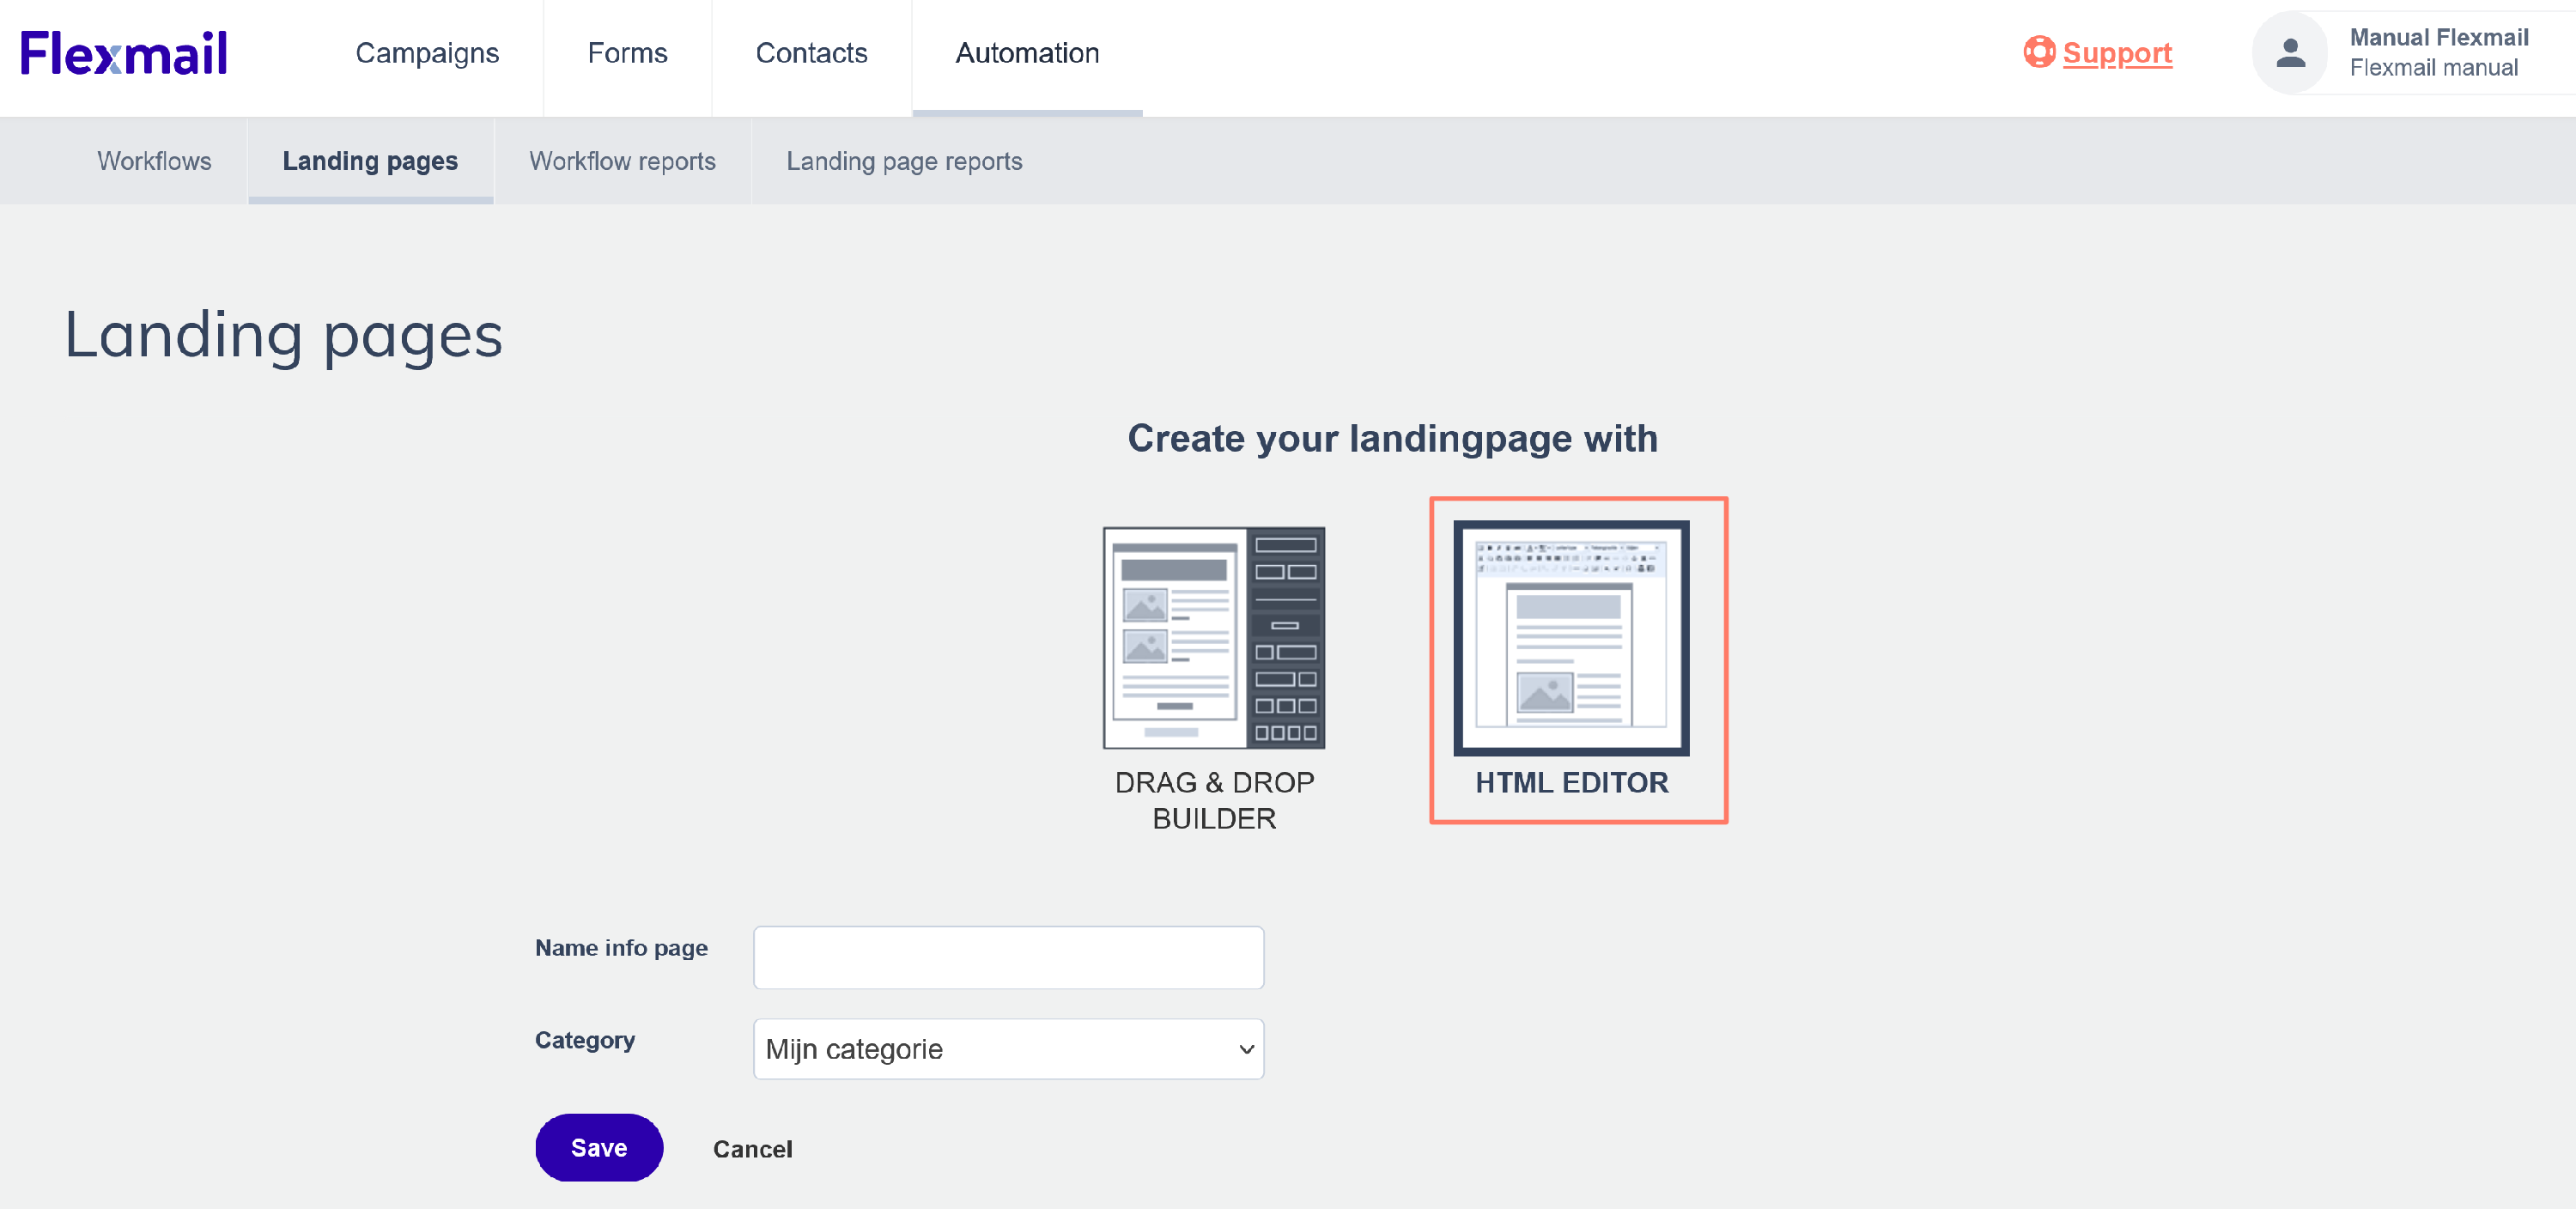
Here, it is important that the HTML editor is chosen, because we have to add the opt-in form.
-
Add a text and possibly an image or logo to this page. At the spot where you want to place your form, you have to add the HTML code that you previously saved while creating the opt-in form

-
Save the first part under the head section of your HTML code. Add the second part of the code – the i-frame – to the body section, at the place where the form has to become visible. Click update to implement the changes

- You will not see the form in the message, but when you open the web version of the landing page , you can see the entire page with the form


You can use the link at the top of the web version to let contacts (re)subscribe to the database.
What happens next
When the contact fills in the form, they receive a confirmation email. Once they click the confirmation link, they are moved from the blacklist back to your confirmed contacts. Their previous blacklist status is replaced with a new confirmed status.
GDPR Completing the opt-in gives you fresh, documented consent for this contact. That is the correct legal basis for resuming email communication with someone who previously unsubscribed or filed a spam complaint. Keep a note in your CRM recording that the contact reached out and asked to be re-added, in case the consent is ever questioned.
Common mistakes to avoid
Manually removing the contact from the blacklist without a re-subscription
Blocked contacts (hard bounce and spam categories) cannot be manually removed from the blacklist in Flexmail. Even for unsubscribed contacts who can be manually removed, doing so without fresh consent is a GDPR risk. Always use the opt-in form process.
Initiating the re-subscription on your own initiative
The contact must be the one who wants to re-subscribe. If you are reaching out to them to suggest they re-subscribe, you are already communicating with someone who has not given consent. The
process only applies when a contact contacts you and asks to be added back.
GDPR considerations
The re-subscription process creates a fresh consent record with a new opt-in timestamp. This is the correct legal basis for resuming email communication. Make sure to record the context, for example a note in your CRM that the contact called or visited in person and asked to be added back, in case the consent is ever questioned.
Next steps
- Read "Manage blacklisted contacts" for a full overview of the blacklist and what you can do with each blacklist reason
- Read "The blacklist in Flexmail: all your questions answered" for answers to common scenarios involving the blacklist
- Read "Create an opt-in form" for a full guide to setting up and customising opt-in forms