Get started with the HTML Editor
The HTML editor is one of three message editors in Flexmail. It's a WYSIWYG (what you see is what you get) editor, you edit a visual representation of your email while Flexmail manages the underlying HTML code.
The HTML editor works best in two situations: when you want to send a simple, text-heavy message without a complex layout, or when you have a custom HTML message coded by a developer that you want to upload and use directly. For most standard marketing emails, the Email builder gives you more design control with less technical overhead.
What the HTML editor supports
- Full text editing with font, size, colour, and alignment controls.
- Image and file insertion.
- Link management, including links to forms, surveys, and files.
- Personalisation placeholders.
- Custom HTML, switch to raw HTML source view at any time.
- The Rollback function, version history for up to 10 saved versions. This is only available in the HTML editor.
- Dynamic content using if-structures.
- Dynamic content templates from an external XML database.
What the HTML editor does not support
The HTML editor does not support drag-and-drop layout building or automatic mobile column stacking. For full layout control with no HTML knowledge required, use the Email builder. For a pre-designed mobile-responsive layout with minimal setup, use the Wizard Template.
When to use the HTML editor vs. the other editors
- Use the HTML editor when uploading a developer-coded HTML template, when working with a very simple text-based message, or when you need the Rollback function for version control.
- Use the Email builder for most marketing emails, it gives you full layout control, drag-and-drop editing, and automatic mobile optimisation without any HTML knowledge.
- Use the Wizard Template when you want a ready-made mobile-responsive design with minimal setup time.
Prerequisites
- You have access to Campaigns > Messages in your Flexmail account.
- If you are uploading a developer-coded HTML template, have it ready as a clean, email-safe HTML file.
Create a new message
- Go to Campaigns, then Messages.
- Click Create new message.
- Click I <3 HTML to select the HTML editor.
- Give your message a name and select a category. Optionally choose a template, or click No template to start from scratch.
- Click Save to open the editor.

Edit your message
Text formatting
Use the toolbar to set font family, size, bold, italic, underline, text colour, alignment, and list styles. Highlight text first, then apply formatting.
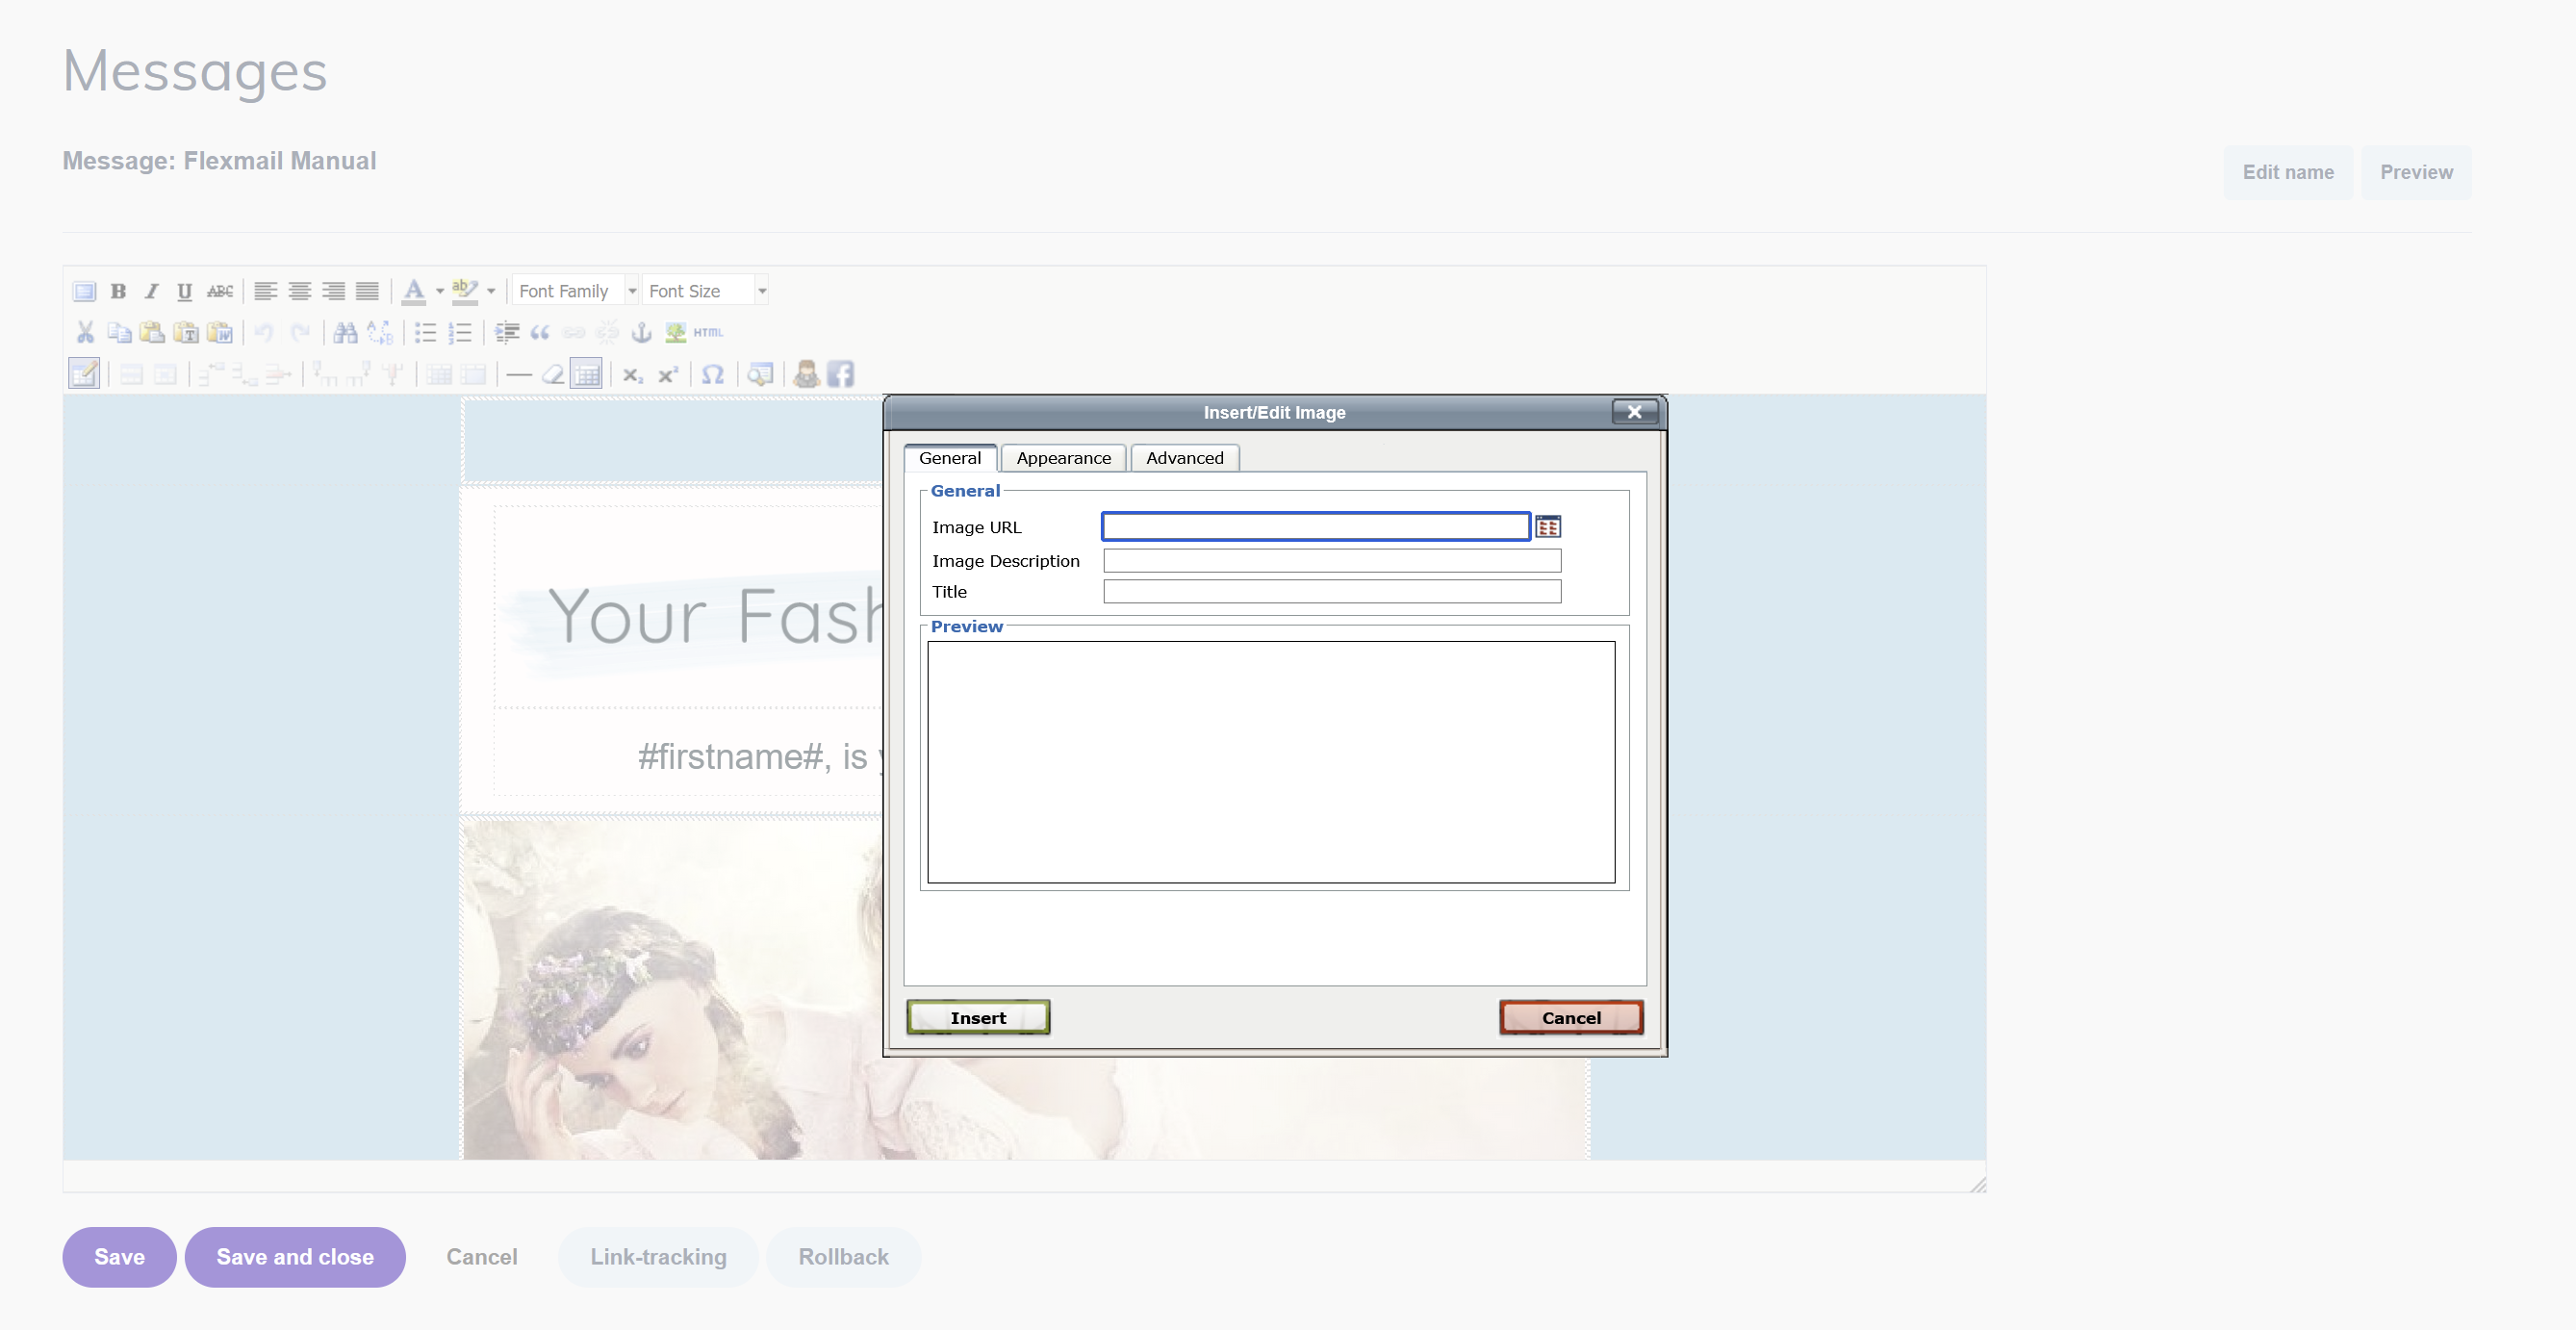
Add an image
Click the image icon in the toolbar. Upload a new image or select from your media library. Set the width, alignment, alt text, and an optional link.
Switch to raw HTML view
Click the Source button in the toolbar to edit the underlying HTML directly. HTML that works in a browser often behaves differently in email clients. Run Message Check after any source edits.
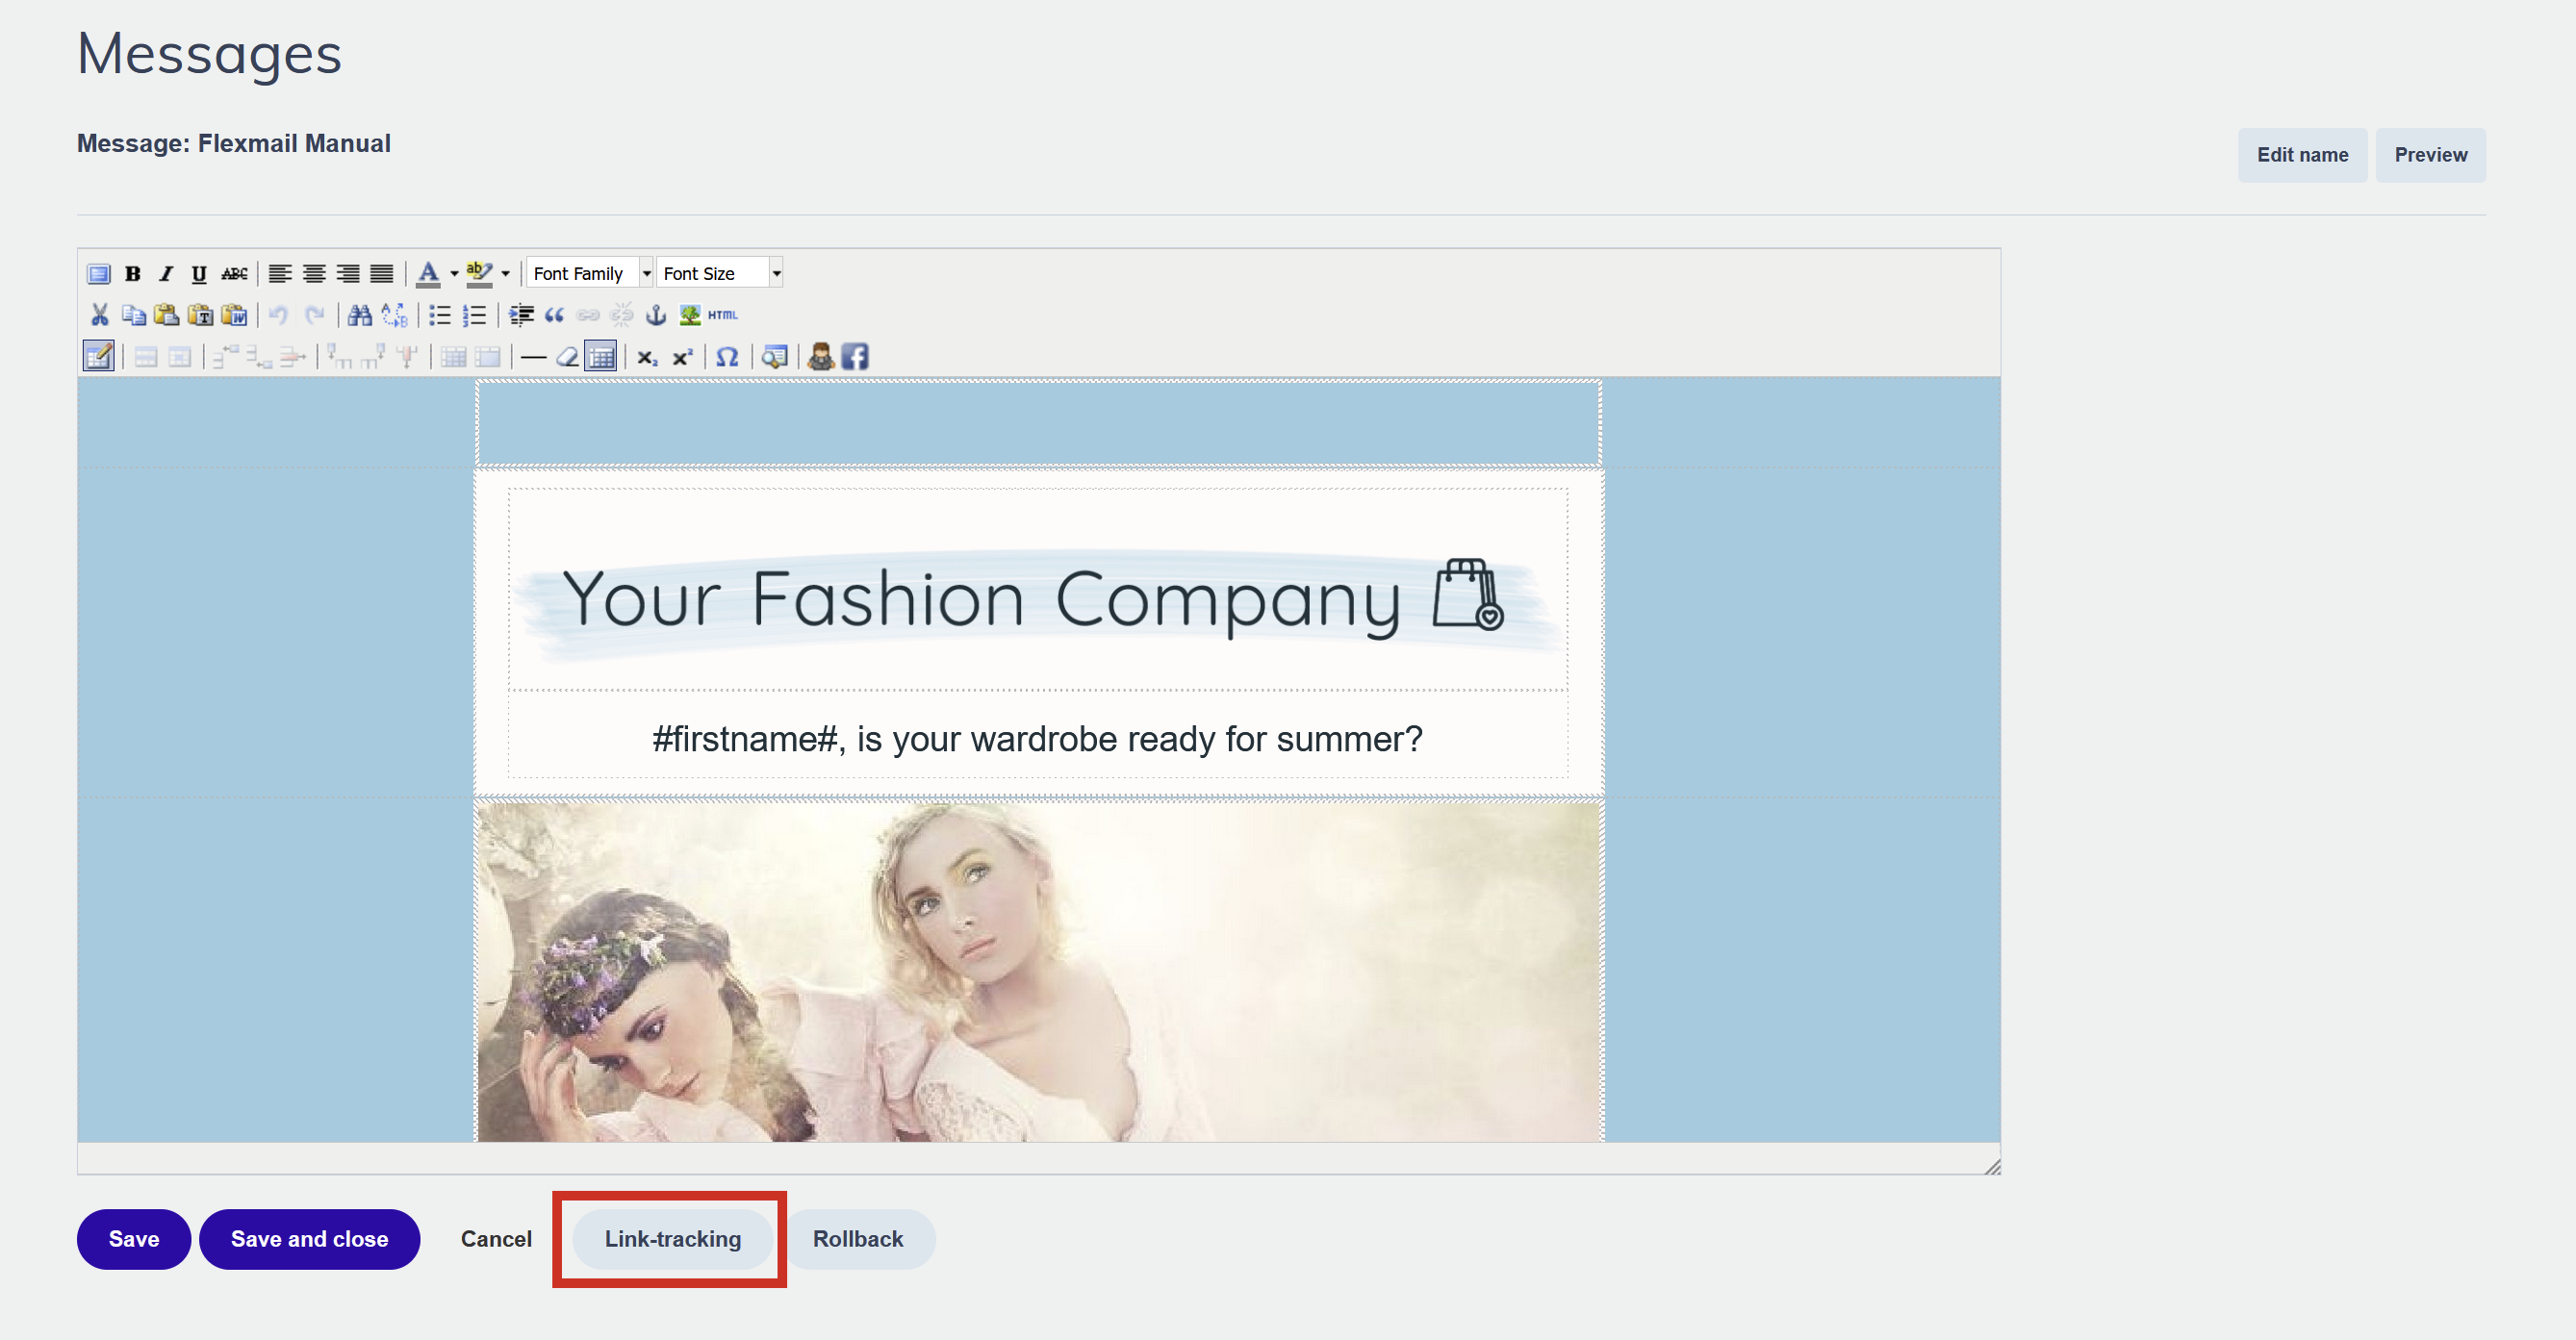
Link tracking
Scroll to the bottom of the editor to find the Link tracking section. All links in your message are listed here. Enable tracking for the links you want to measure and optionally assign an interest to each. See "Link tracking" for details.
Preview and save
Click Preview to see your message with test profile data applied. When you are done editing, click Save. Each manual save creates a Rollback point, Flexmail keeps up to 10 versions.
Support tip Save manually after every significant change. The Rollback function is your safety net in the HTML editor, but it only works if you have been saving regularly.
Rollback
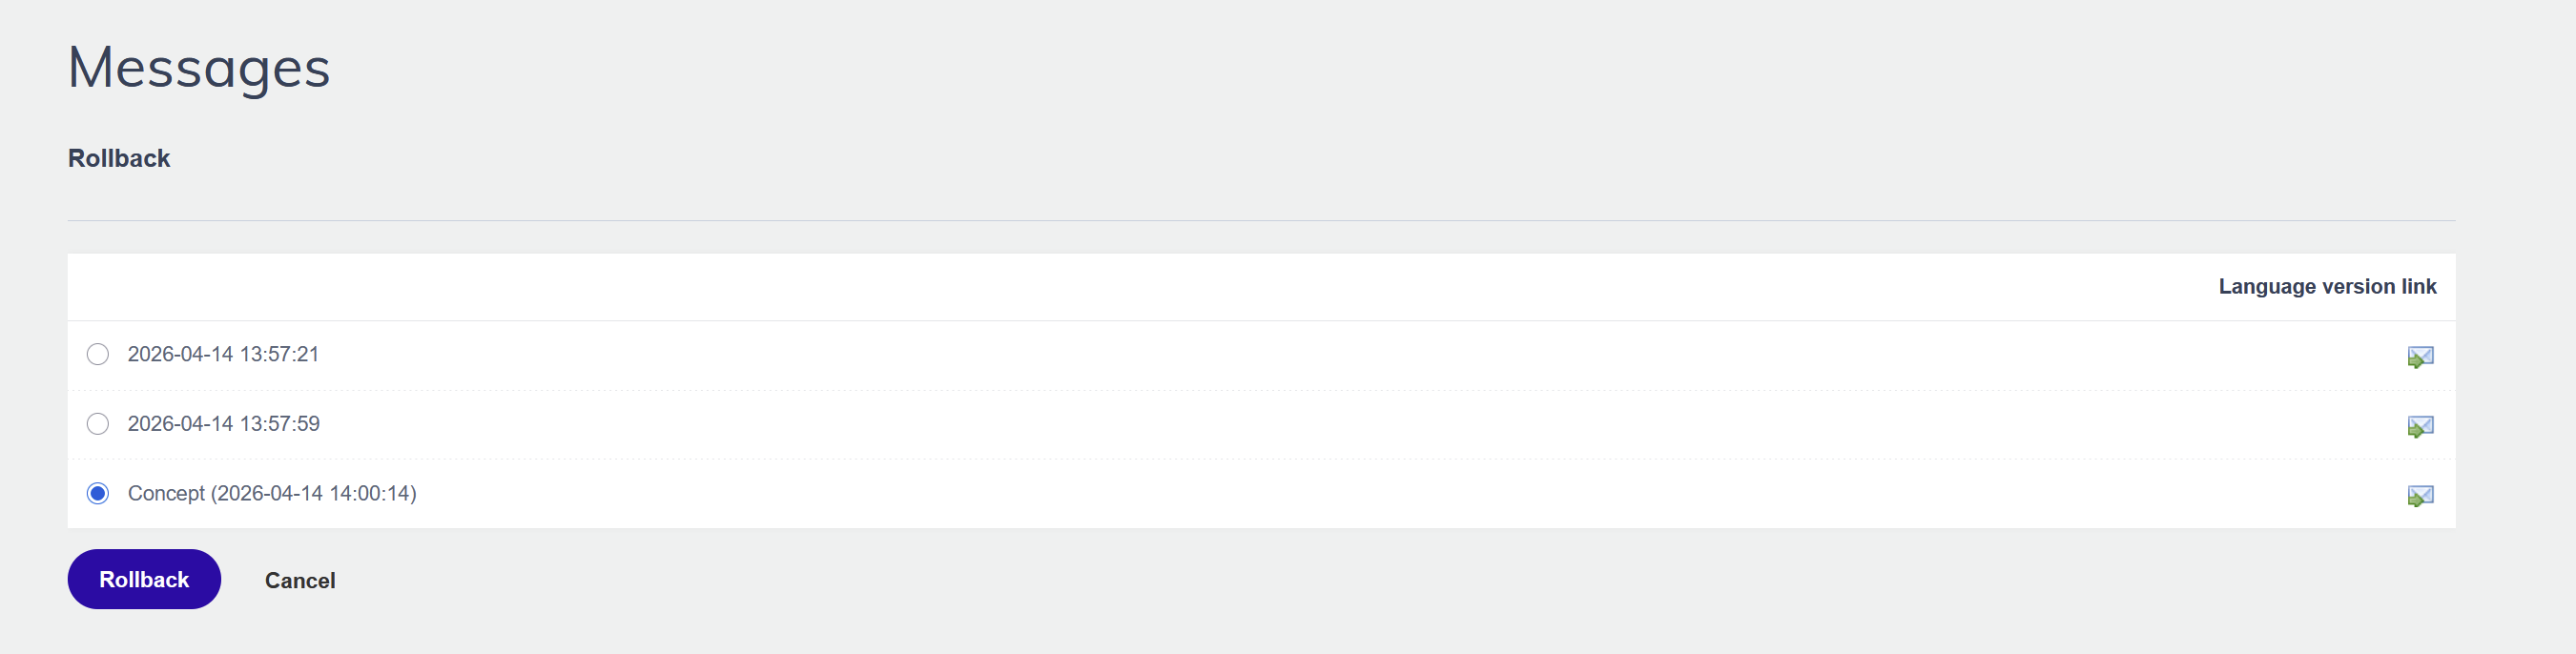
Scroll to the bottom of the editor and click the Rollback button to see up to 10 previous versions, each with a timestamp. Click Preview next to any version to see it, then "Rollback" to restore it.
Attention Rollback is only available in the HTML editor. The Email builder has undo/redo within a session only. The Wizard Template has no version history at all.
Pro tips
- Use the HTML editor for text-heavy messages like plain-text-style newsletters, internal communications, or transactional-style content where design complexity isn't needed.
- If uploading a developer-coded template, run Message Check immediately after importing to check for rendering issues across email clients.
- Save a version after each major section of edits, not just at the end. Granular restore points are more useful than a single rollback option.
Common mistakes to avoid
- Editing raw HTML without understanding how email clients handle it. HTML that renders correctly in a browser often behaves differently in Outlook, Gmail, or Apple Mail.
- Not saving regularly. Rollback only works if you have been saving. A large change made without saving first has no restore point to fall back to.
- Switching between WYSIWYG and source view repeatedly. Switching to source view and back can alter your HTML structure. Do source edits in one pass when possible.
GDPR considerations
GDPR Make sure your HTML message includes a functioning unsubscribe link. If you are building the email in raw HTML, the unsubscribe placeholder (#unsubscribe#) must be present. Flexmail will not allow you to send a campaign if the message has no unsubscribe option.
Next steps
- See "Rollback function" in Message elements for step-by-step instructions on restoring a previous version.
- See "Personalise a message with placeholders" for all available placeholders and how to use them.
- See "Set up dynamic content with if-structures" for adding conditional content in the HTML editor.