Add an image
Images make your email more visually engaging and help communicate your message faster than text alone. Flexmail supports static images in JPG, PNG and GIF formats, as well as animated GIFs. You can add images in all three message editors.
For best results, keep image files under 2MB. Larger files slow down loading times on mobile connections and may be blocked by some email clients. See "Why your media files should stay under 2MB" for compression tips.
Prerequisites
- Your image file is ready and under 2MB.
- For best rendering, check the recommended dimensions for the placeholder you're filling, particularly in the Wizard Template.
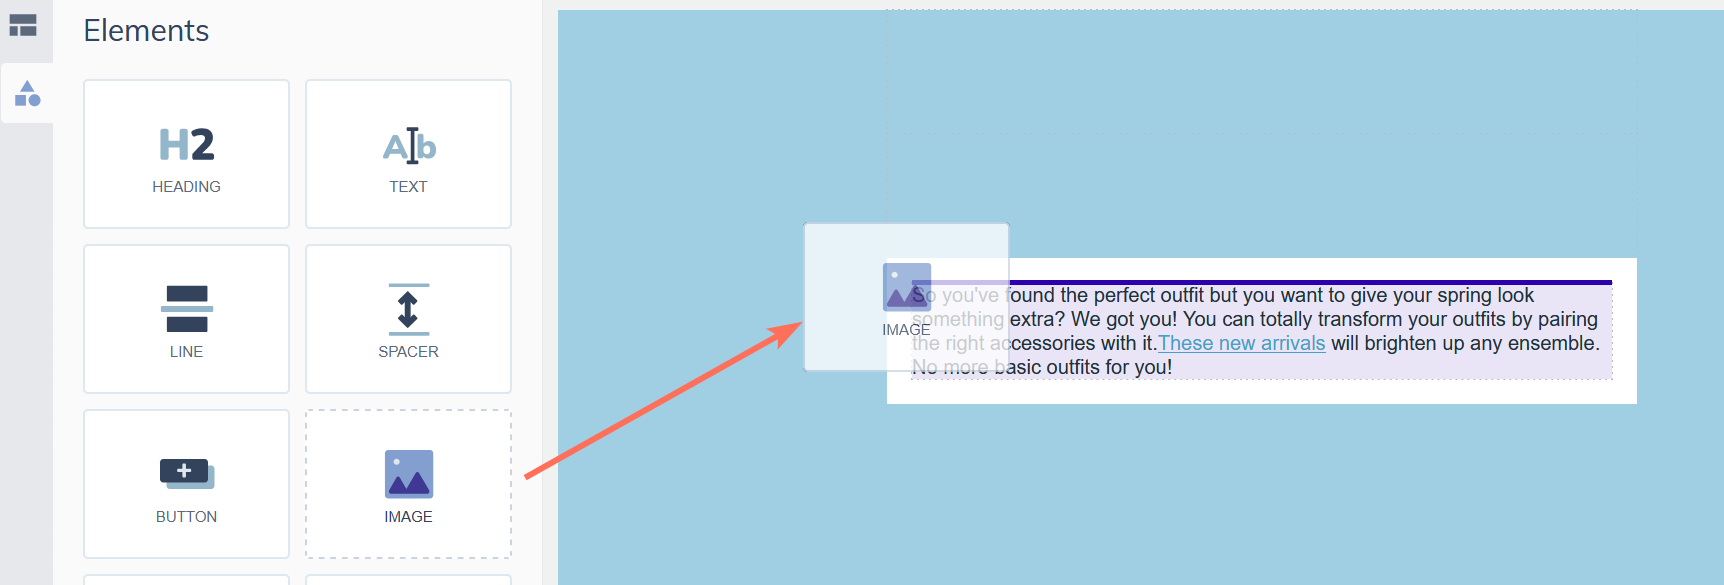
Email builder
- In the Elements panel on the left, find the Image element.
-
Drag it onto the canvas into a structure column.
-
Click the image placeholder to open the image picker.

-
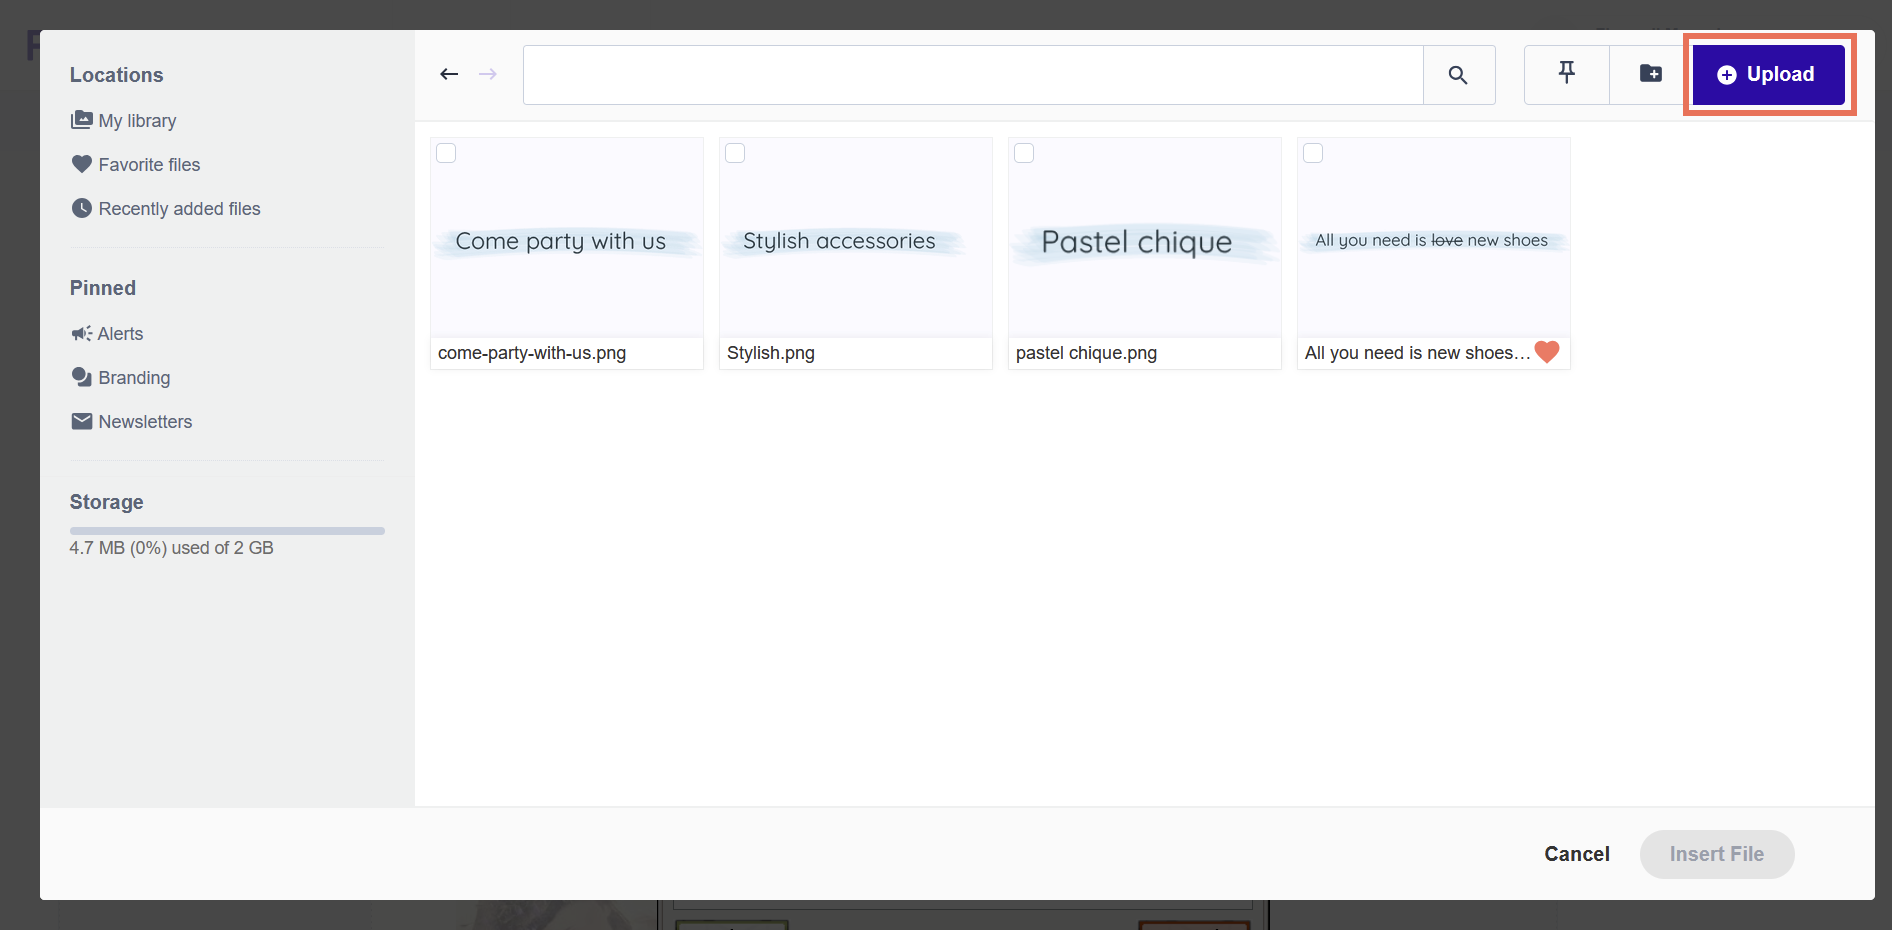
Upload a new file or select one from your media library.

- In the right panel, set the alt text, optional link, width, alignment, margins and visibility.


Support tip Animated GIFs are supported and display correctly in most email clients. Outlook 2007–2019 shows only the first frame as a static image, make sure the first frame communicates your message clearly on its own.
Wizard Template
-
Click an image placeholder in the Wizard.
-
Upload a new image or select from your media library.


The image fits the placeholder automatically. Use an image that matches the recommended dimensions shown in the placeholder to avoid stretching or cropping.
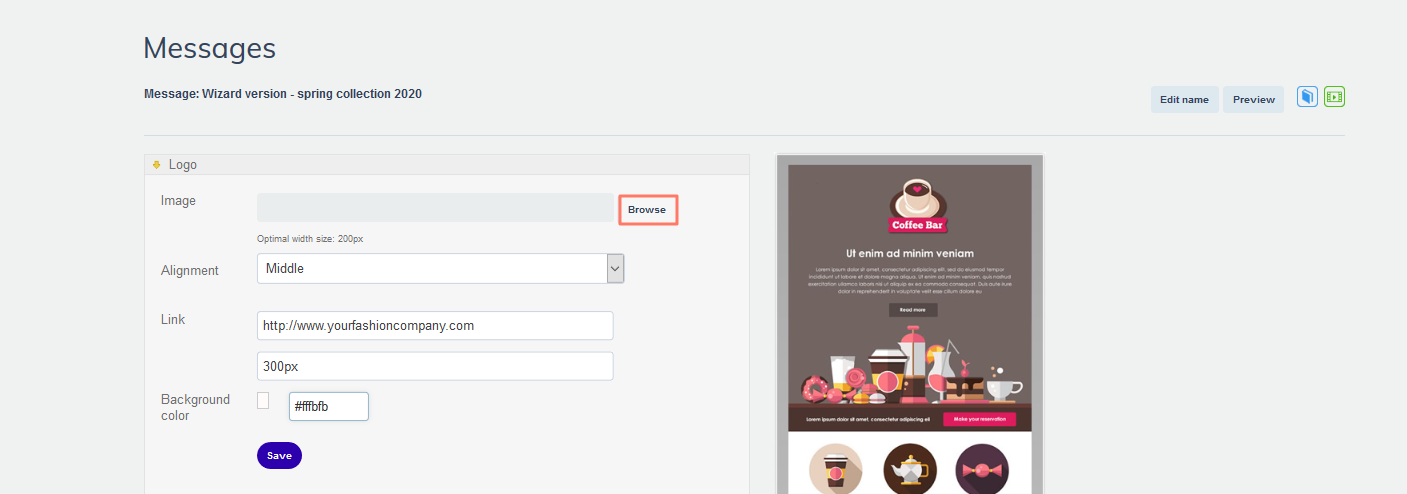
HTML editor
- Click where you want to insert the image.
-
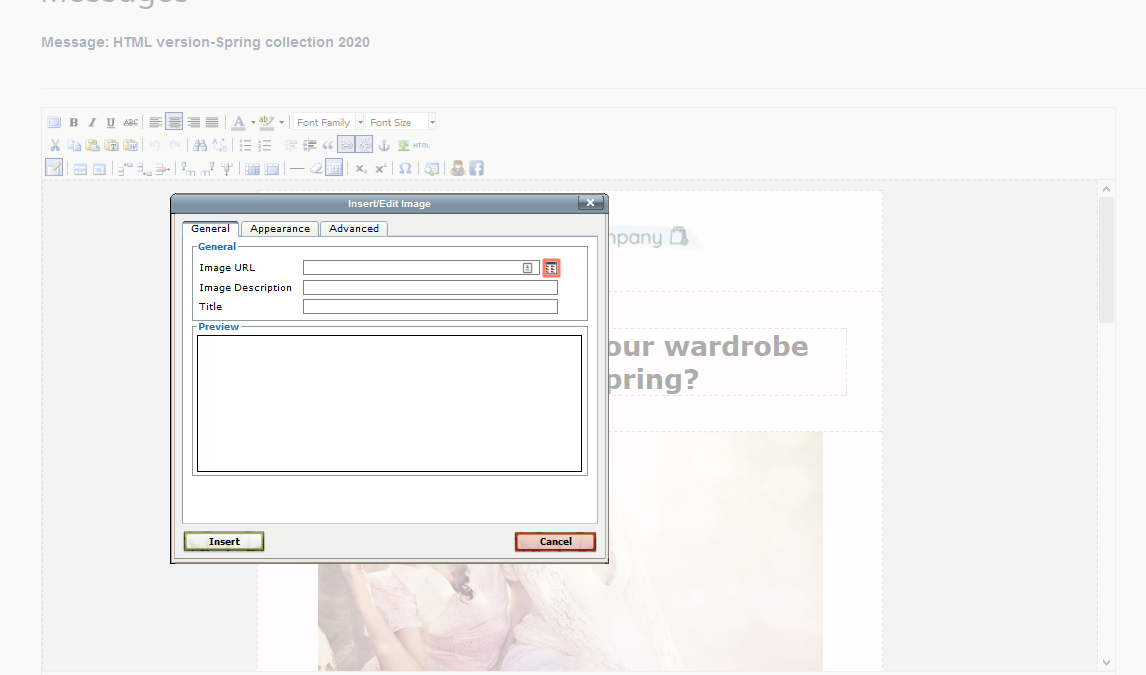
Click the image icon in the toolbar.

-
To add an image click on the little Browse icon next to the 'Image URL' field.
-
Upload a new file or select from your media library.
- That will bring you back to the Insert/Edit Image pop-up. Set the width, alignment, and alt text, then click Insert.


Pro tips
- Always add alt text to your images. Many email clients block images by default, alt text ensures readers still understand the content when images don't load. See "Alt texts" for guidance.
- Use the correct file format: JPEG for photographs, PNG for logos and graphics with transparency.
- For Wizard templates, the image placeholder shows the recommended dimensions. Prepare images at those exact dimensions before uploading to avoid layout issues.
Common mistakes to avoid
- Uploading images over 2MB. The media library enforces a 2MB limit. Use a compression tool like Squoosh before uploading if your image is too large.
- Skipping alt text. Without it, image-blocking email clients show empty boxes with no context. See "Alt texts" for how to write them well.
- Using images wider than the email content area. A standard email is 600px wide. Images wider than 1200px (for 2x/Retina displays) are larger than needed and add unnecessary file size.
Next steps
- See "Alt texts" for guidance on writing descriptive alt text for every image.
- See "Animated images in emails" for specific guidance on using animated GIFs.
- See "Edit an image" if you need to crop or adjust an image after uploading.
- See "Why your media files should stay under 2MB" for file compression tips.