Attach files to a message
You can include downloadable files in your Flexmail emails by linking to files stored in your media library. Contacts click the link to download the file directly. This approach keeps your
email's file size small and avoids the deliverability problems that come with large email attachments.
Prerequisites
- Your file is uploaded to the media library. Files must be under 2MB each.
- You have a message open in one of the three editors.
Upload your file
Before you can link to a file, it needs to be in your media library. Go to Settings, then Media Library, and upload your file. Common use cases: PDF catalogues, brochures, price lists, event programmes, and white papers.
Email builder
- Click a text, heading, list, image, or button element on the canvas.
- Add or edit a link using the toolbar or settings panel.
-
In the link type selector, choose File as the link type and click Media.

- Select the file in your media library and click Insert file.
- Back on the Add a link page, click Insert link.
- Click Save.


Wizard Template
Article CTA (button)
- Add a link name.
- Next to the link field, click on the D icon for Documents.
- Select the file in your media library and click Insert file.
- Click Save.

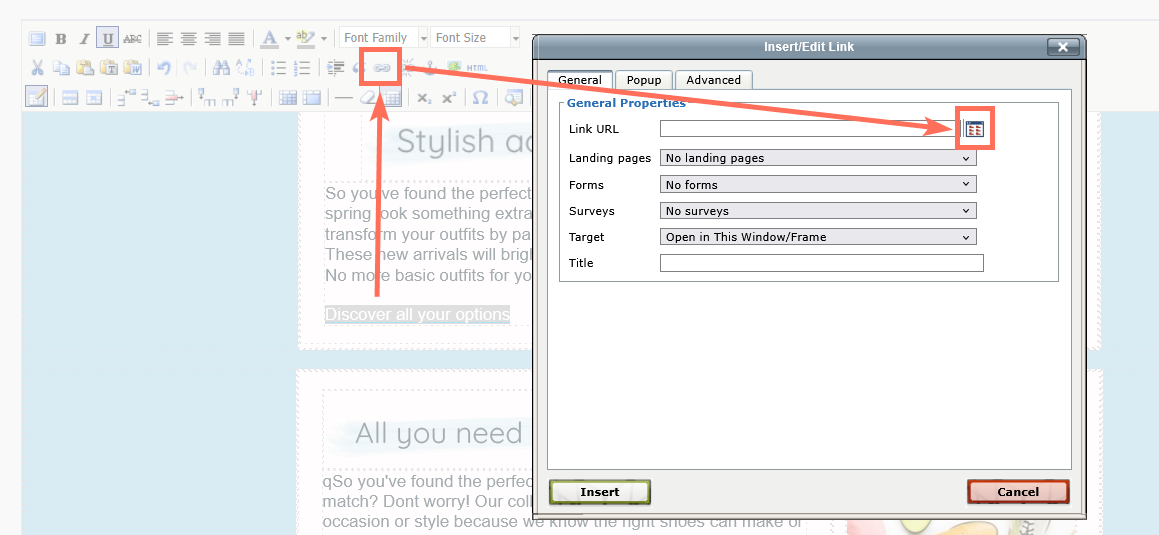
Article editor
- In an article, highlight the text or image you want to link.
- Click the link icon in the toolbar.
- Next to the Link URL field, click on the browse icon
- Select the file in your media library and click Insert file.
- On the Insert/Edit link screen, click Insert.
- Click Save.

HTML Editor
- Highlight the text or click the image you want to link.
- Click the link icon in the toolbar.
-
Next to the Link URL field, click on the browse icon
- Select the file in your media library and click Insert file.
- On the Insert/Edit link screen, click Insert.

Pro tips
- Mention what the link is in the surrounding text, "Download our autumn catalogue (PDF, 1.2 MB)" sets expectations and reduces hesitation to click.
- Name your files clearly before uploading. Something like "product-guide-autumn-2025.pdf" is much easier to identify later than "document1.pdf".
Common mistakes to avoid
- Uploading a file over 2MB. The media library enforces a 2MB limit per file. Compress PDFs using tools like Smallpdf or Adobe Acrobat before uploading if needed.
- Linking to a file that was deleted from the library. Always verify the file is available in the media library before sending.
- Not enabling link tracking for download links. If you want to know how many contacts downloaded your file, make sure tracking is enabled for that link in the Link tracking section.
Next steps
- See "The media library" for how to organise and manage your uploaded files.
- See "Link tracking" for how to track file download clicks in your campaign reports.
- See "Why your media files should stay under 2MB" for file compression guidance.