Get started with the Email builder
The Email builder is Flexmail's drag-and-drop message editor. It produces mobile-optimised emails automatically, requires no coding knowledge, and gives you full control over layout, styling, and personalisation. It's the recommended editor for most email marketing purposes.
This article explains how the editor is organised, then walks you through creating your first message from scratch.
Prerequisites
- You have a Flexmail account with access to Campaigns > Messages.
- If you want your brand colours, fonts, and logo to apply automatically, set up your Brand kit in Settings > Brand kit first.
- Have your message content ready, text, images, and the URL or destination for your call to action.
How the Email builder is organised
The Email builder has three areas:
- Left panel, add content. This is where you find the Structures and Elements.
- Canvas (centre), your email as it will look when received. Drag structures and elements here, click them to edit, and rearrange by dragging.
- Right panel, configure. When you click any structure or element on the canvas, its settings appear here. This is also where you find the Email style settings.
Structures define the column layout of each row in your email. Before you can add any content, you need to place a structure on the canvas. Elements are the actual content, text, images, buttons, dividers, and more, that you drag into the columns of a structure. The Email style panel controls the global appearance of your message.
Support tip Configure your Email style settings before adding structures and elements. Everything you add afterwards inherits these defaults, which means far less manual styling per element.
Create a new message
- Go to Campaigns, then Messages.
- Click Create new message.
-
Click Start building in the Email builder section.
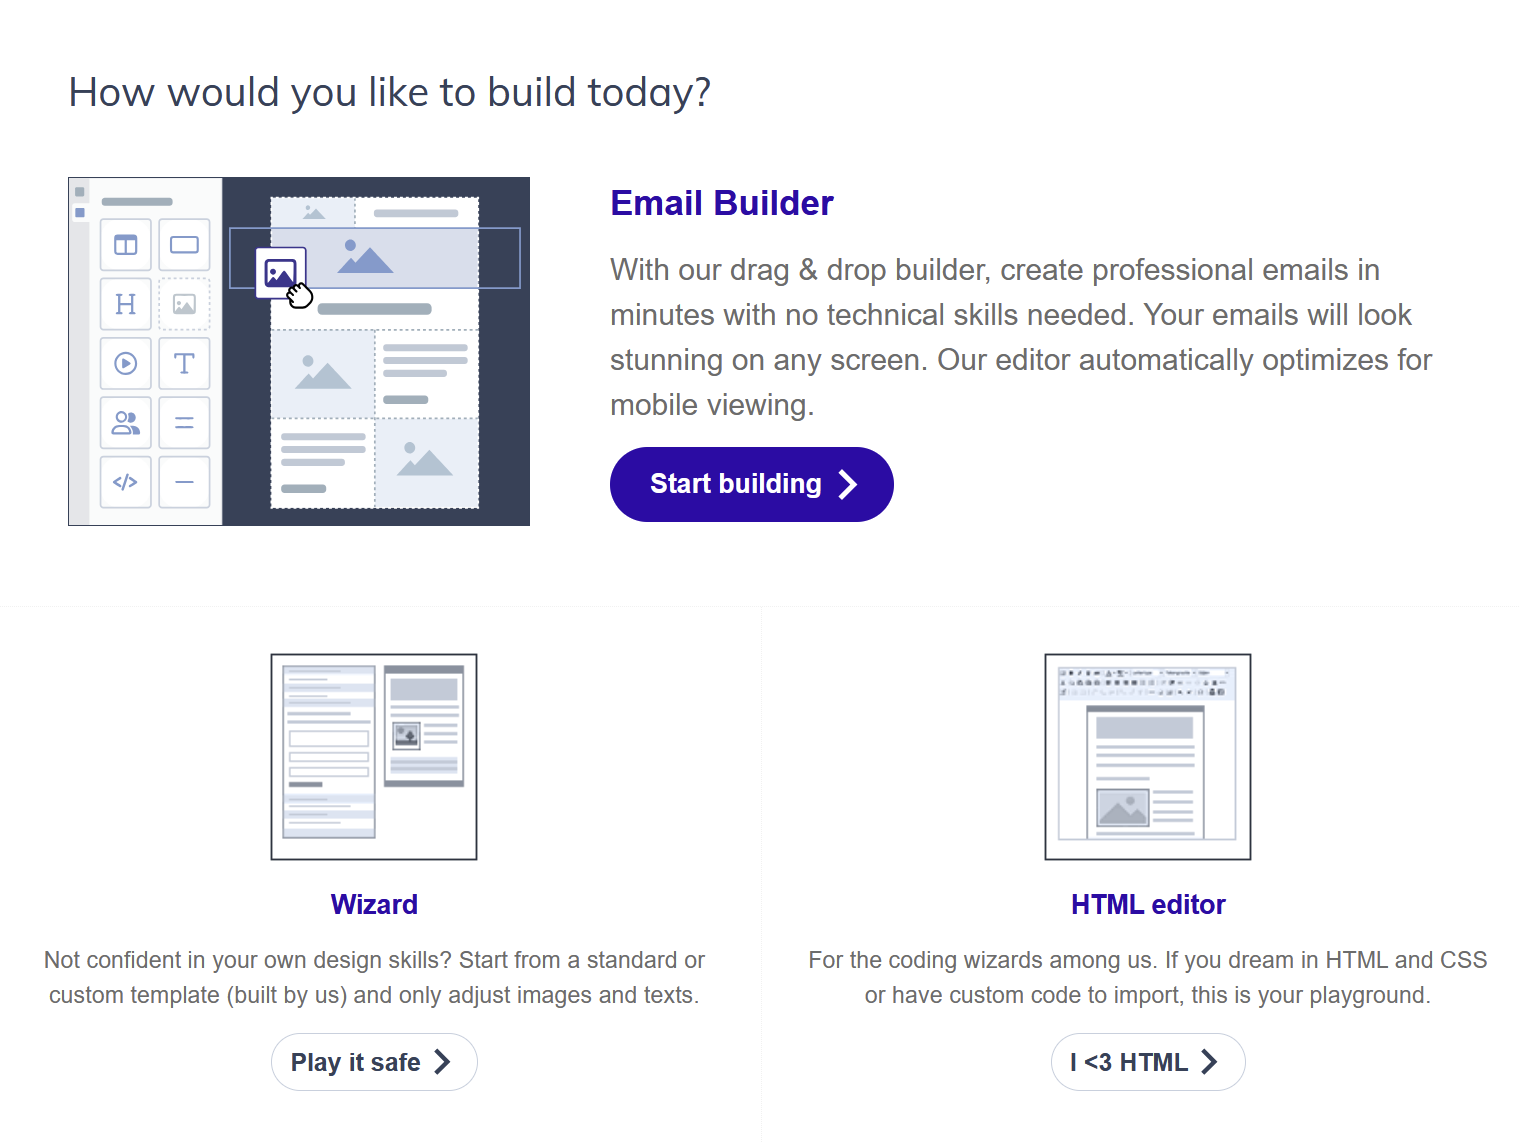
- Choose a template to start from, or click No template to start with a blank canvas. You can preview any template before selecting it.
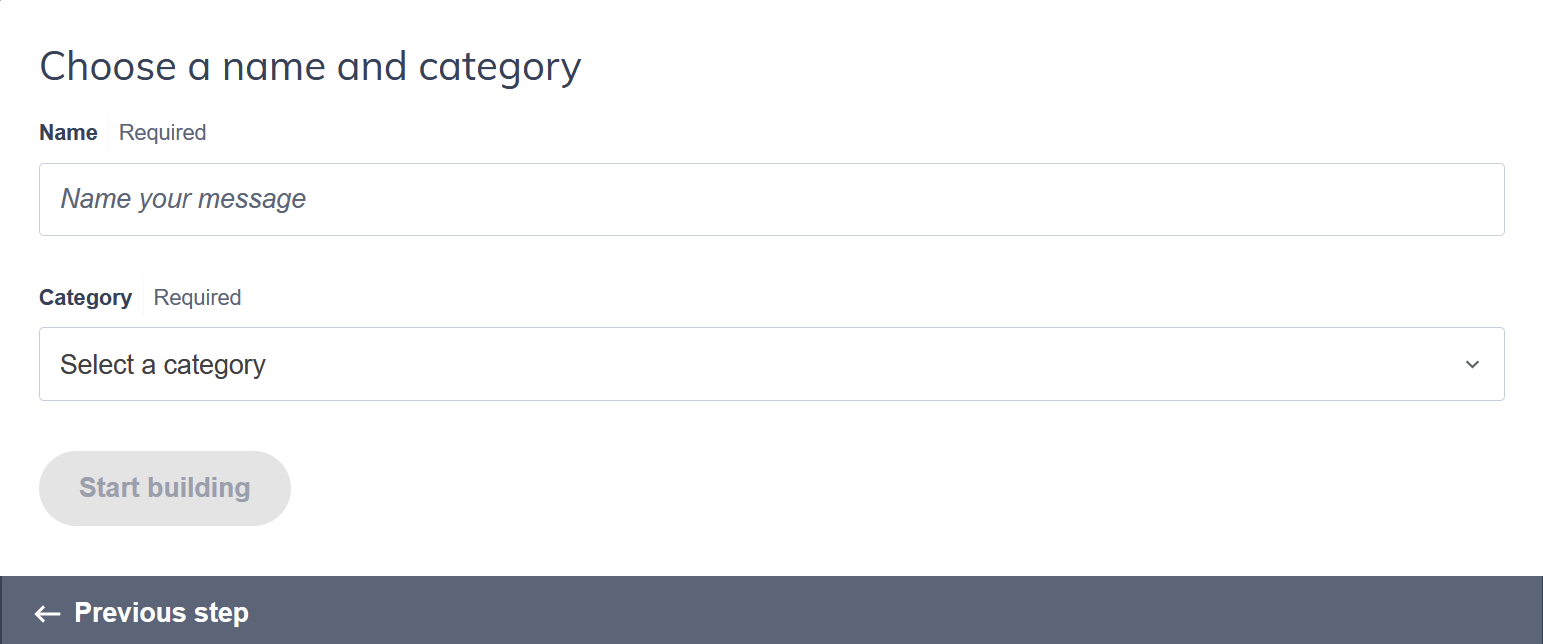
- Give your message a name and choose a category, then click Start building.

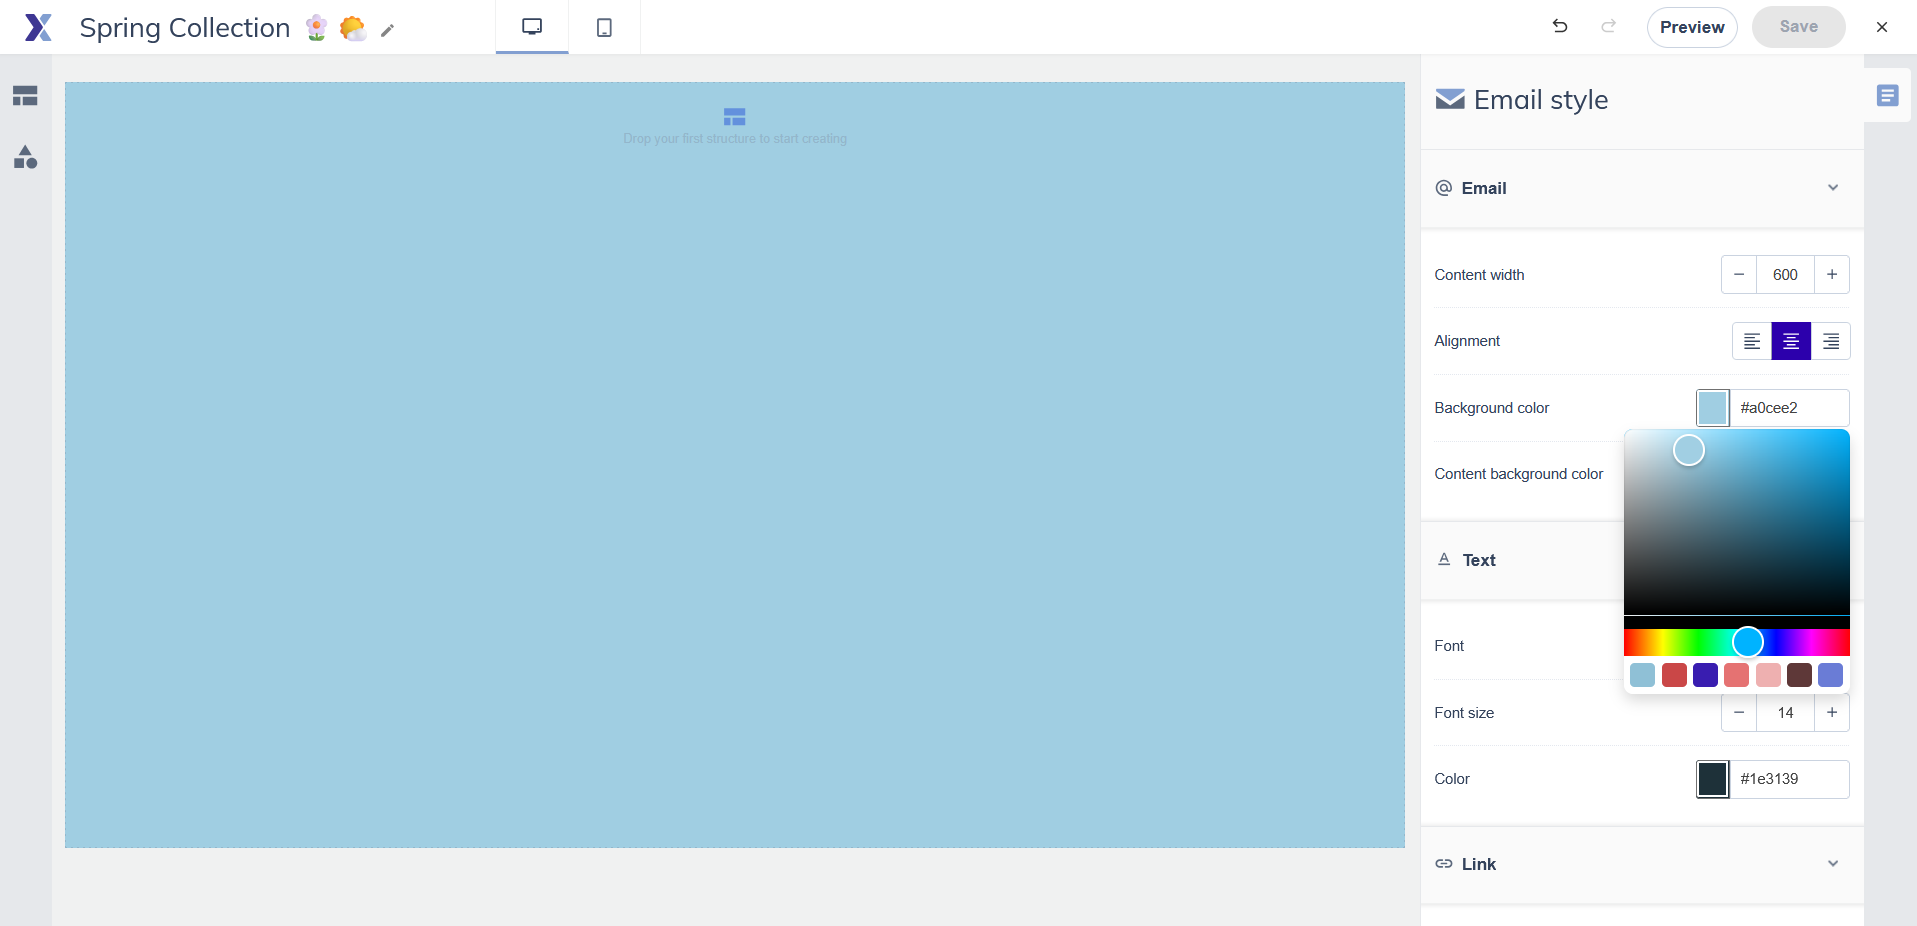
Step 1: Set up your email style
Before adding content, open the Email style panel by clicking the Email style icon in the right panel when nothing is selected. Check the global settings, these are pre-filled from your Brand kit if you've set one up. Confirm that your colours, fonts, and content width are correct. Everything you add to the canvas inherits these settings automatically.
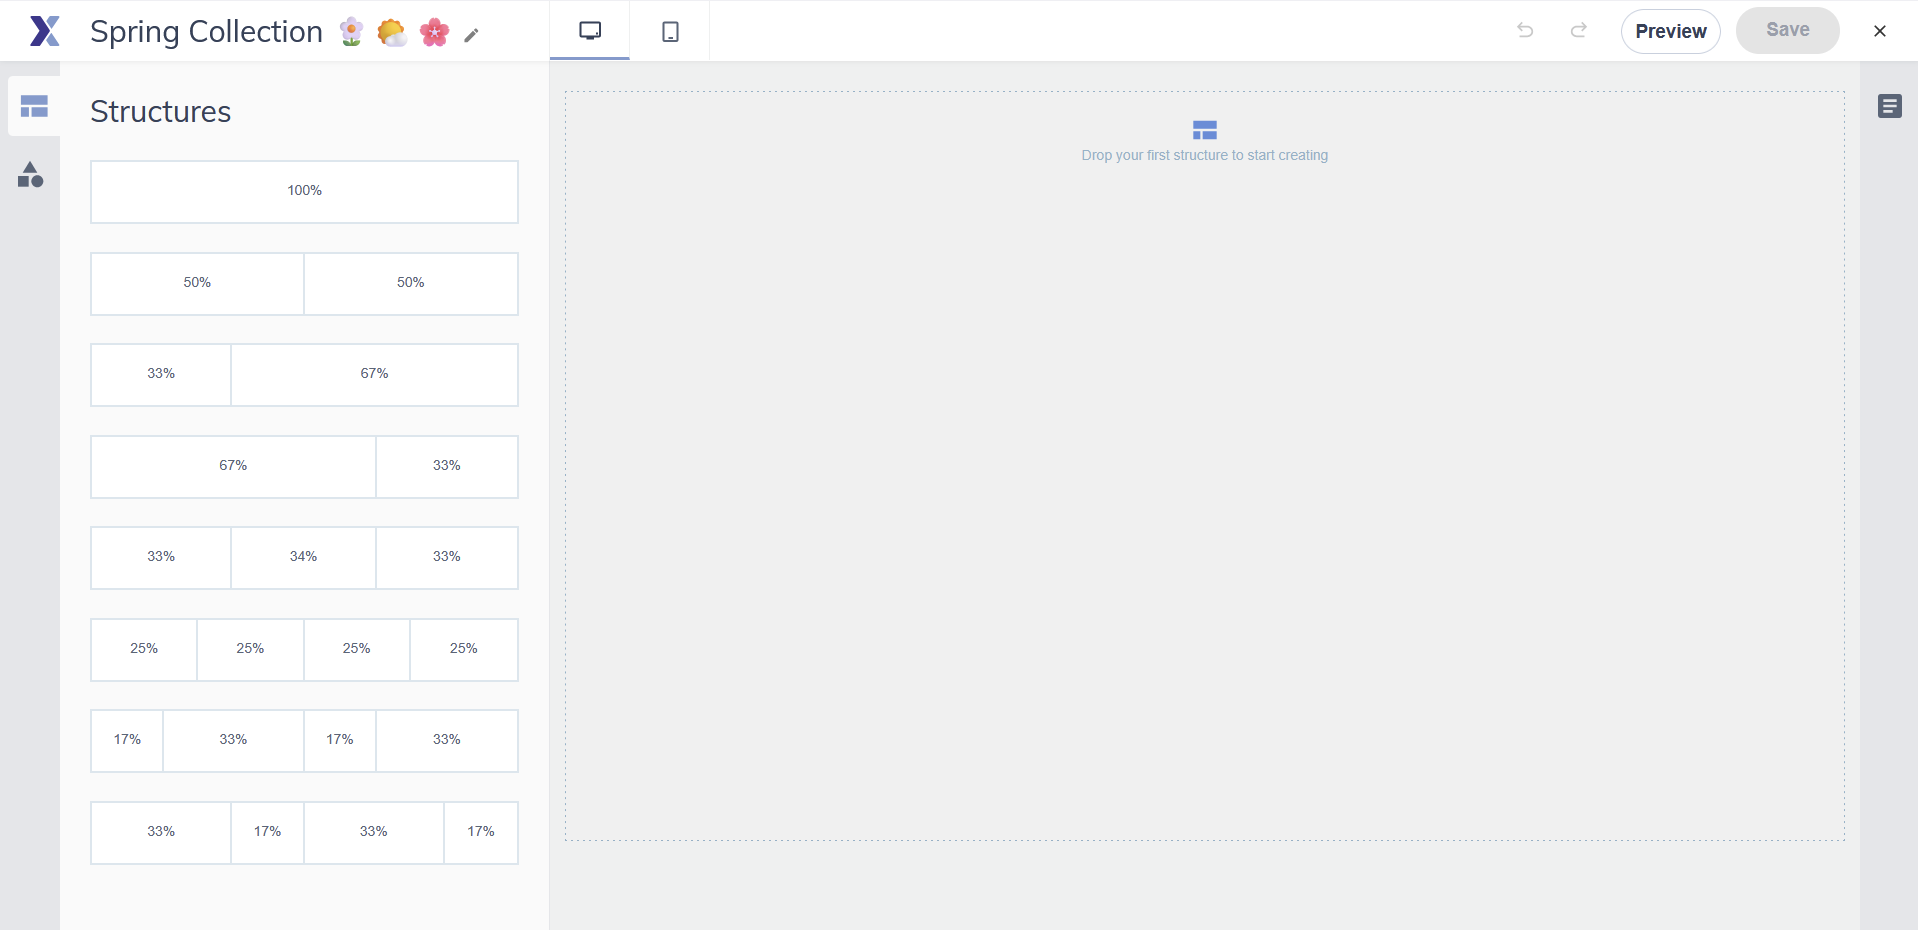
Step 2: Add structures
Open the Structures panel on the left. Find the column layout you want and drag it onto the canvas. A blue indicator line shows where it will land.
Start with the most common layout for your email, typically a single column for your header and footer, and a two-column layout for article rows. You can mix and match structures freely.

Support tip For emails with articles that each have an image and text, use a separate structure for each article. That way each image and its text stack correctly on mobile, rather than all images appearing before all the text.
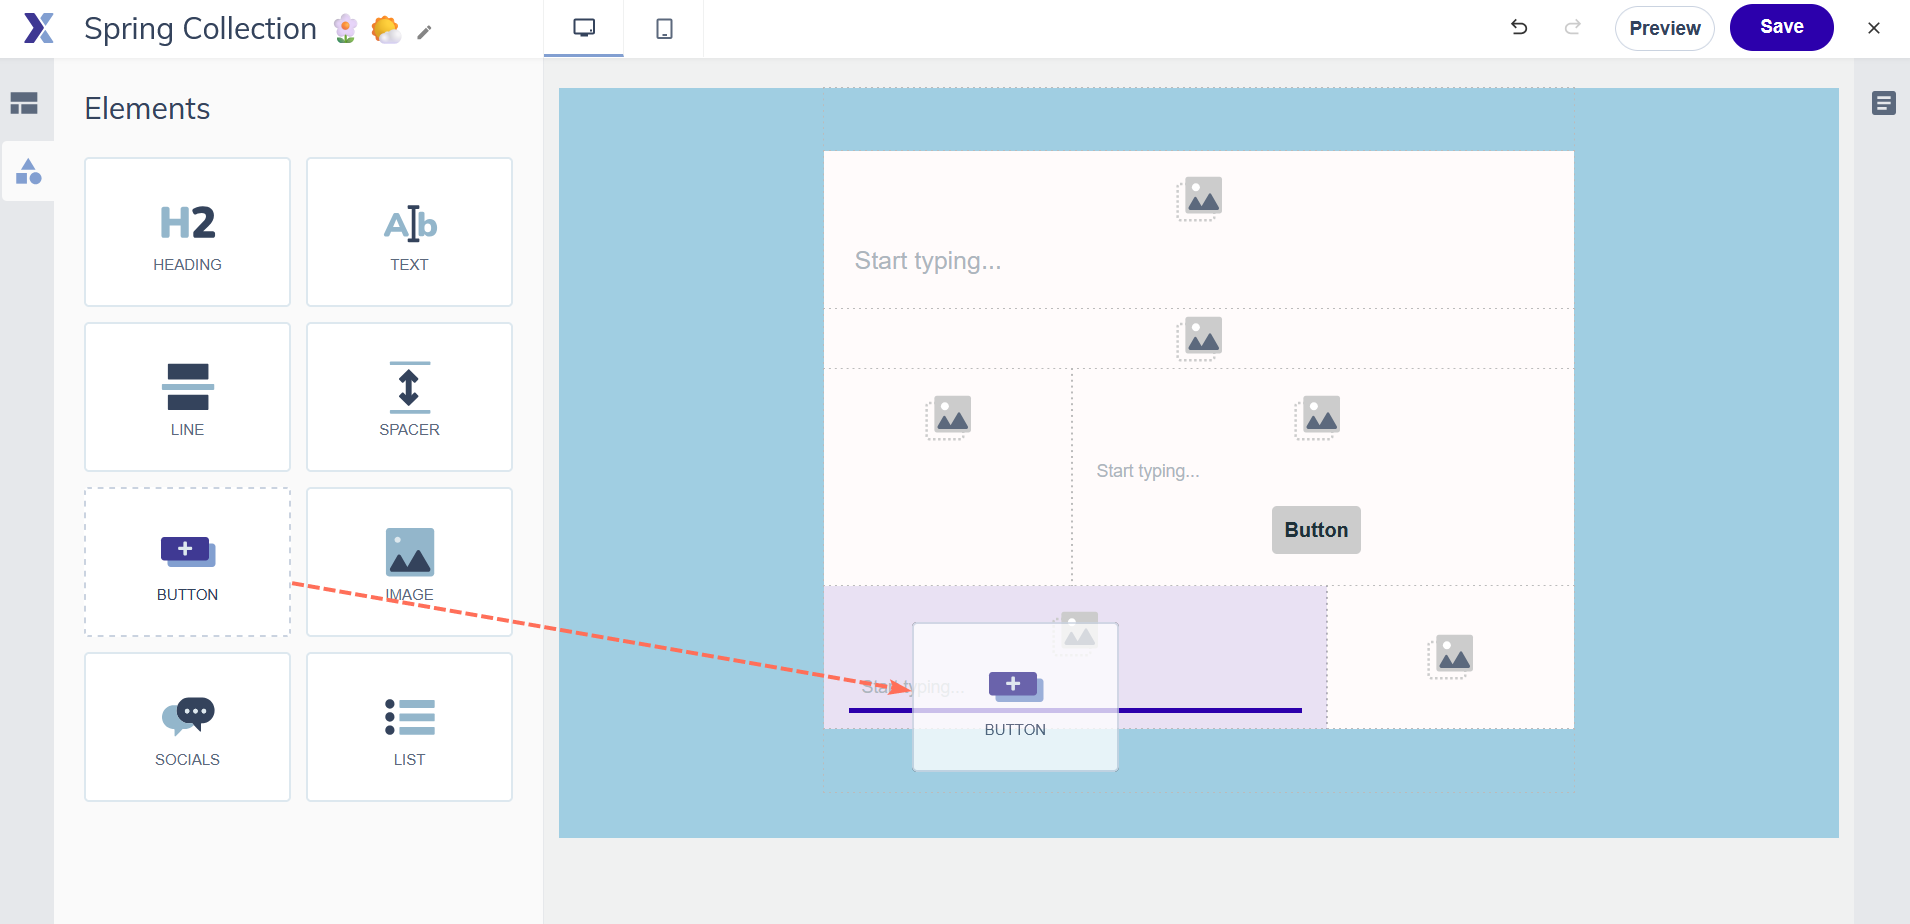
Step 3: Add content elements
With structures in place, open the Elements panel and drag content into the columns. A blue indicator shows where each element will land. Click any element on the canvas to open its settings in the right panel. For text elements, a rich text editor appears directly on the canvas.
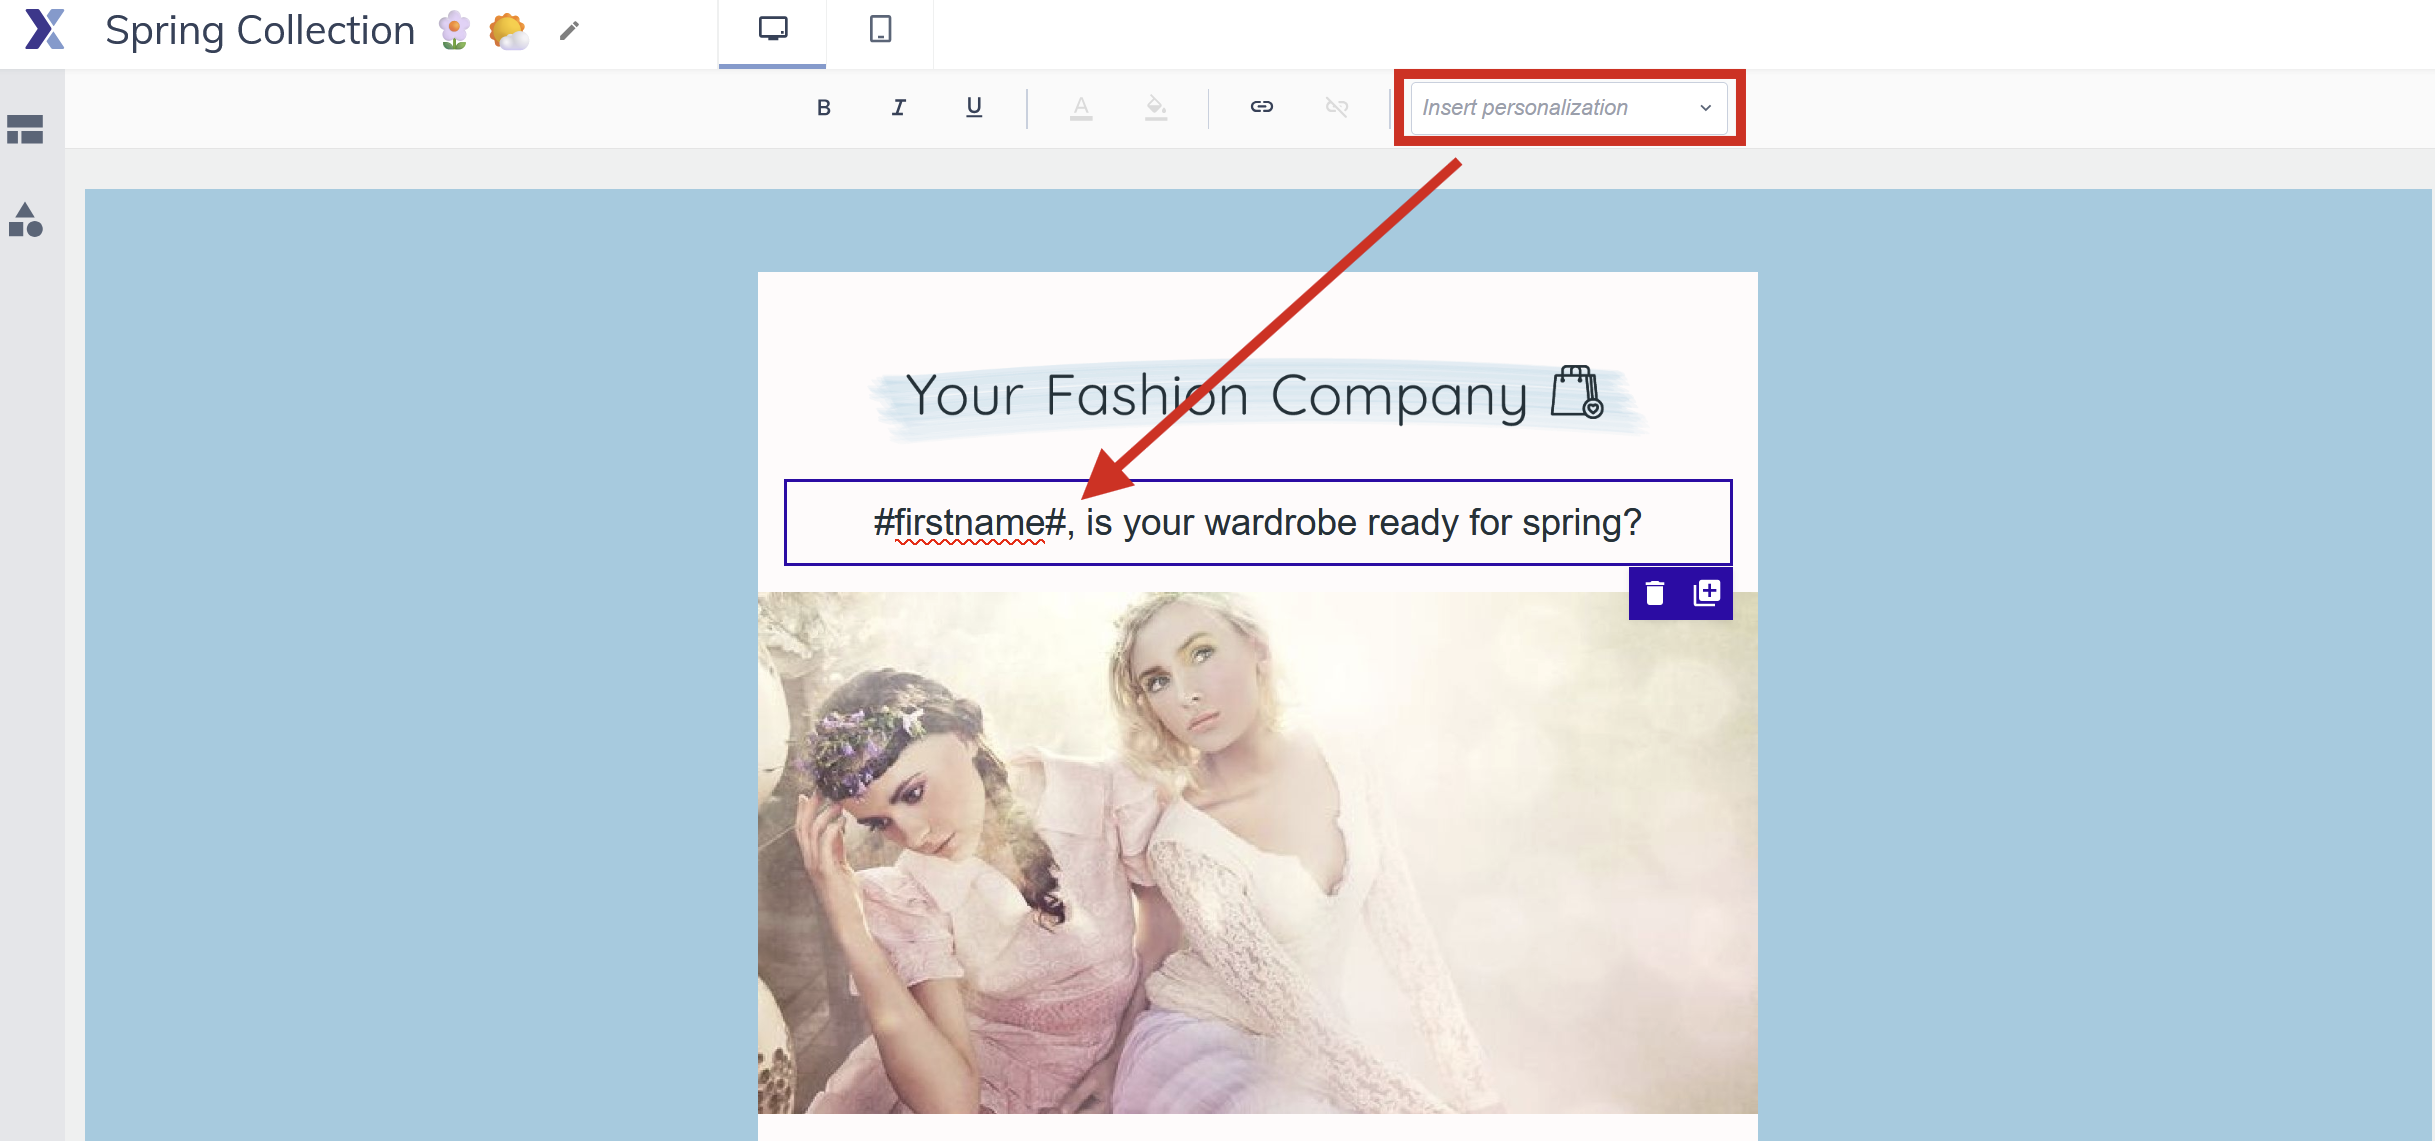
Step 4: Add personalisation
To personalise your message with contact data, place your cursor in a text element where you want the personalised content to appear. Click the placeholder icon in the text toolbar and select the field you want to insert, first name, company name, or any custom field. Placeholders look like #firstname# in the Email builder. When the email is sent, each placeholder is replaced with the actual value from that contact's record.
Support tip Before finalising your message, configure your test profile in Settings. This fills placeholders with realistic sample data so your Preview shows what contacts will actually see.
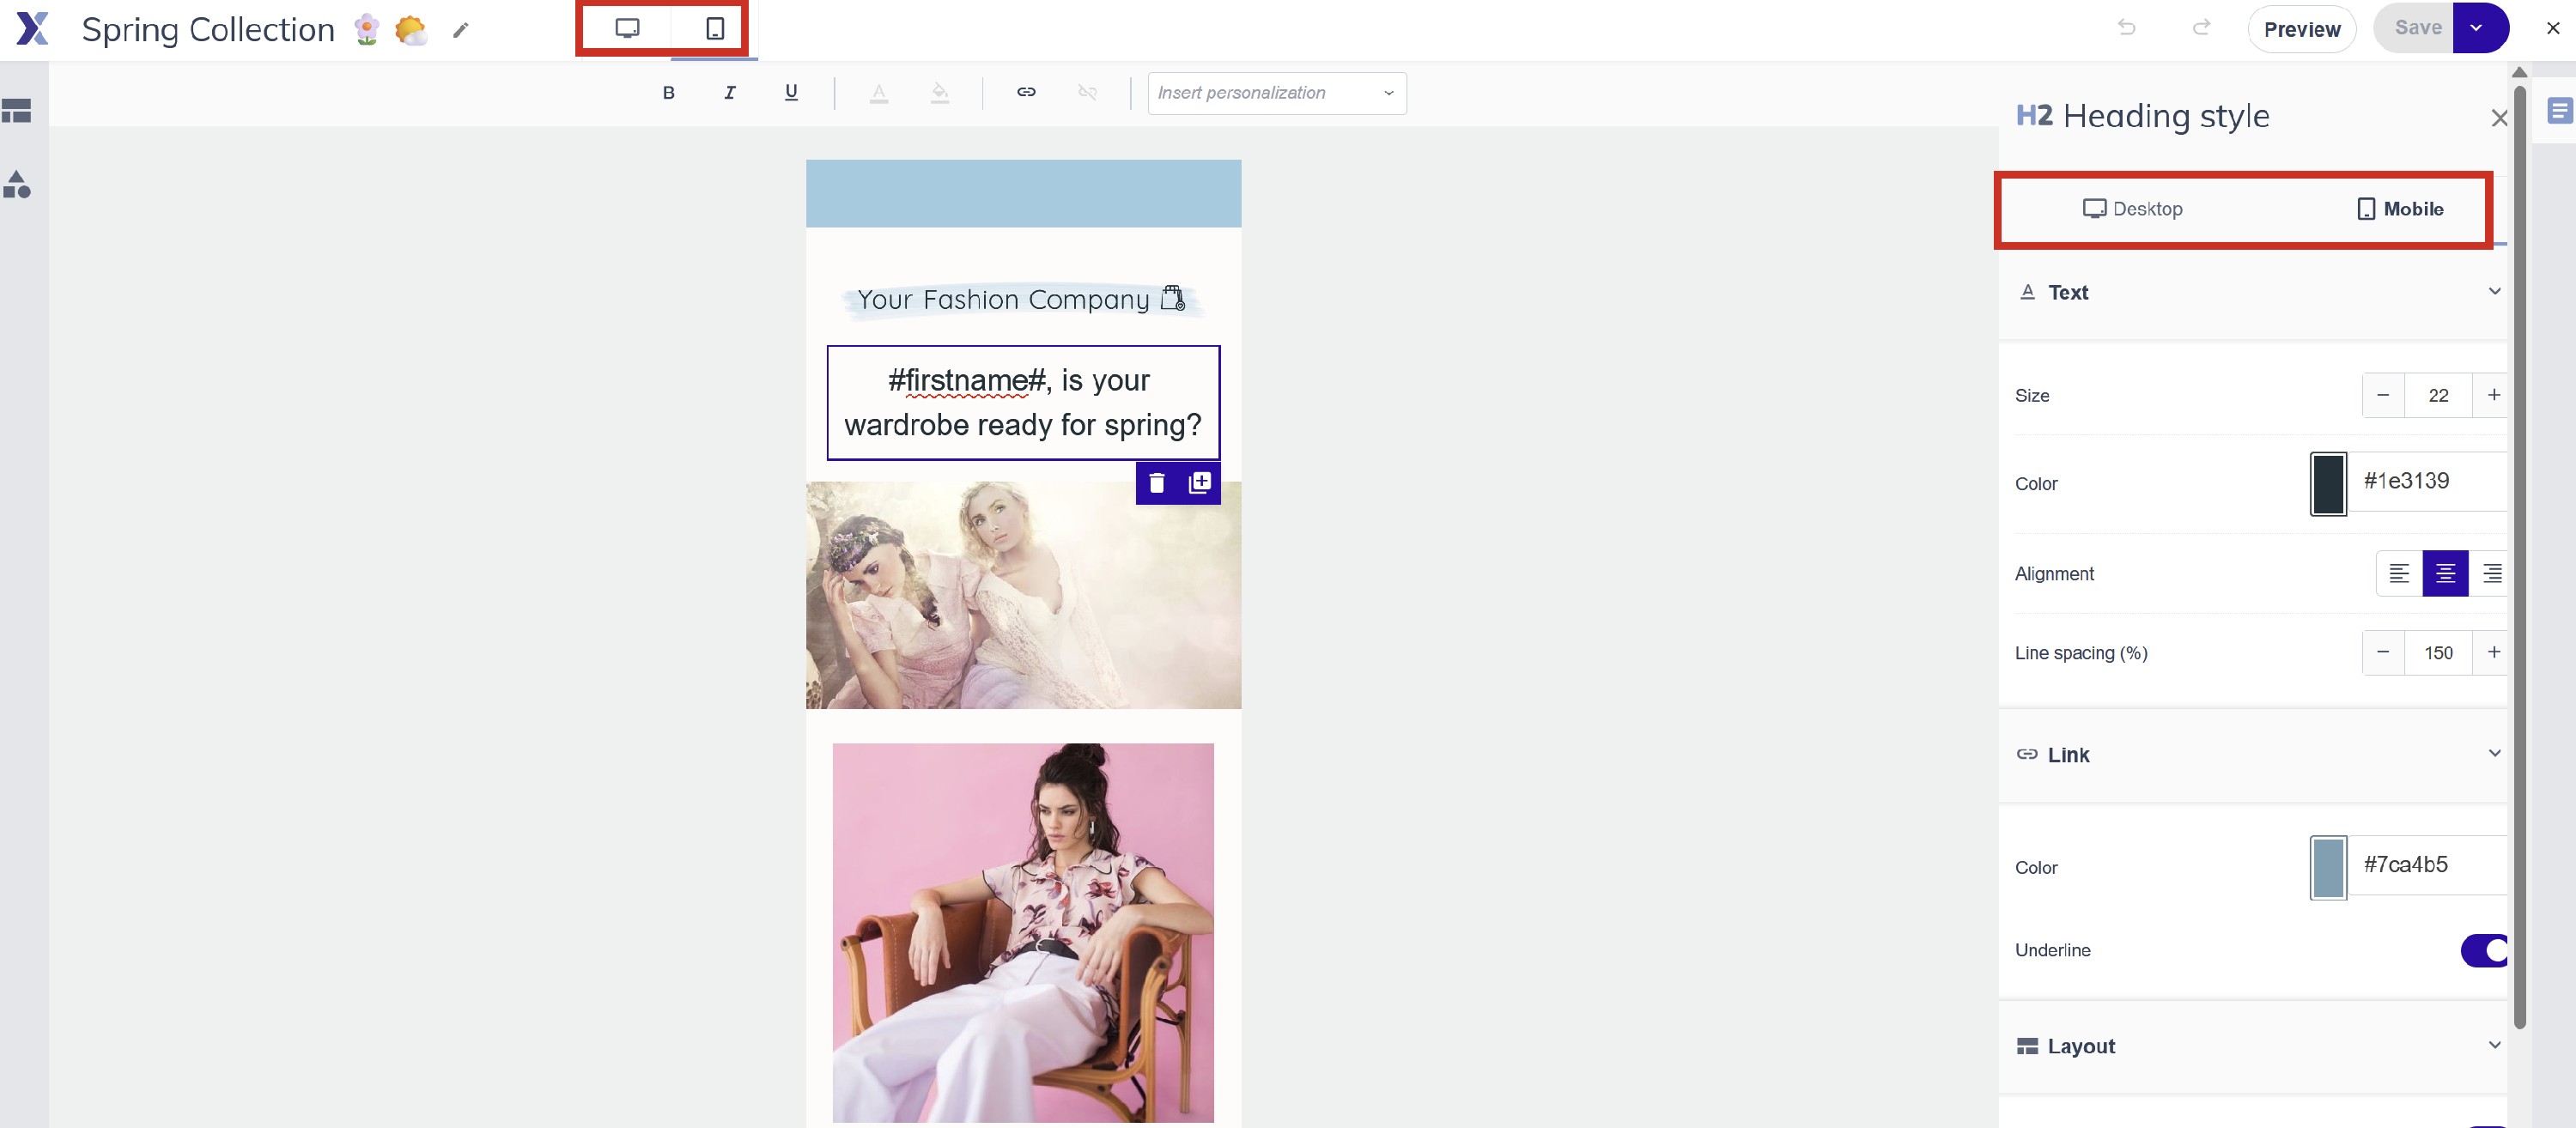
Step 5: Check desktop and mobile
Use the desktop/mobile toggle at the top of the canvas to check how your email looks on both. Some elements can be configured to show or hide on specific device sizes from their settings panel.
Step 6: Preview and run Message Check
Click Preview to open a full-page preview of your message with your test profile data applied. When you're happy with the design, click Message Check to run a spam analysis and see rendering previews across popular email clients.

Step 7: Save
Your changes are tracked automatically as you work. Use the Save button regularly to create an explicit save point. When you're done, close the builder and your message appears in your message list, ready to use in a campaign.
To reuse this message as a starting point for future messages, use the arrow on the Save button and click Save as template.
Attention Undo and redo history in the Email builder is session-based. Once you close the Email builder, you can't undo changes from a previous session. If you need persistent version history, use the HTML Editor, which has a Rollback function.
Pro tips
- Duplicate structures to build multi-article newsletter layouts quickly. Once you've built one article row, duplicate it and swap in the new content.
- Use spacer elements instead of empty paragraphs to add vertical space between elements. Spacers are more reliable across email clients.
- Name your messages and categories consistently from the start. Once you have dozens of messages, a clear naming convention saves a lot of time.
Common mistakes to avoid
- Skipping the Email style setup and styling elements individually. This creates inconsistency and makes future template changes much harder.
- Not checking mobile view before sending. A two-column layout that looks great on desktop may stack awkwardly on mobile if structures aren't set up correctly.
- Closing the Email builder without saving. Although changes are tracked during your session, always create an explicit save point before closing to make sure nothing is lost.
- Adding content without a structure. Elements can only be placed inside structures, you can't drag content directly onto the canvas without a structure in place.
Next steps
- See "Email builder: structures" for a deeper look at how structures control your layout and mobile behaviour.
- See "Email builder: content elements" for a reference of all available element types and their settings.
- See "Email builder: email style settings" for full documentation of the global style panel.
- Once your message is ready, create a campaign in Campaigns > Manage campaigns.